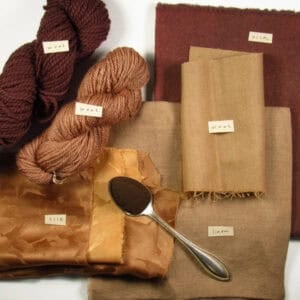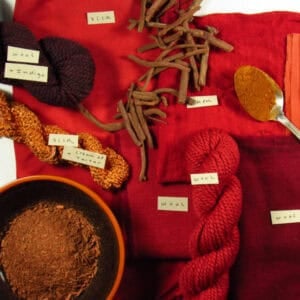
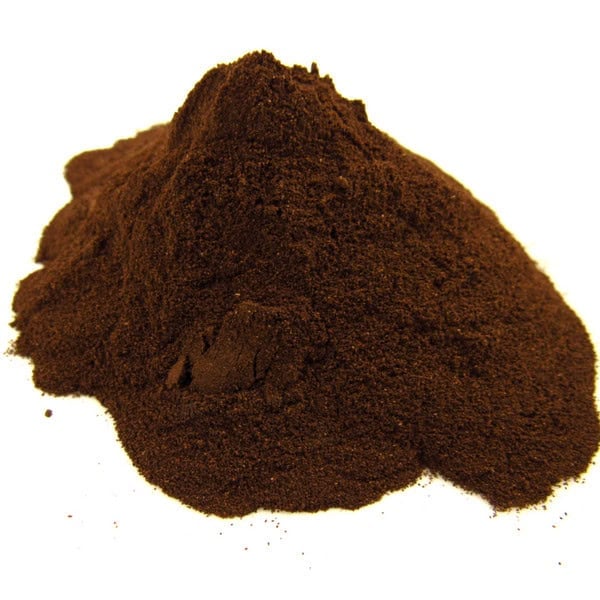
Black Walnut Juglans nigra is one of our most interesting tannins and it’s a color that’s native to the North American continent. The entire tree contains color but it is in the green hulls that we find a strong concentration of dark tannins yield light beige to golden brown on cellulose. On wool, black walnut really shines and makes a rich brown shade.
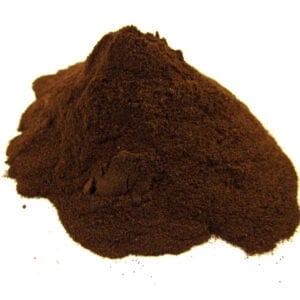
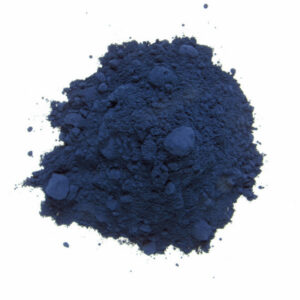
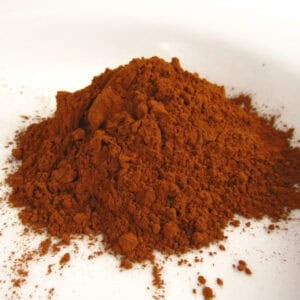
Walnut Hull Powder from black walnut (Juglans nigra) is a common source of brown dye throughout North America. The fleshy hulls are full of tannin, juglone and other pigments and are the primary source of the dye. Walnut hulls were used to dye hair, make inks and dye clothing and yarn.
The rich brown color develops with oxygen, so it helps to simmer the walnut powder for about two hours with an overnight cool down before adding the fiber to get a dark shade. 50g of walnut hull powder will dye approximately 50-250g (2-9 ounces) of fiber to a dark brown shade with an exhaust bath that can be used for multiple lighter shades. For more detailed instructions, please visit our page on how to use walnut powder.
When combined with other colors you can get exciting mixes and beautiful color blends that harmonize and are perfect for patchwork, creating gradations and stitching.
Skill level: Good for an intermediate or advanced dyer. You should be familiar with cellulose mordanting, using iron as a post-bath, dyeing with natural dye extracts, and indigo dipping. If you are an adventurous beginner, try walnut + indigo and as your skills develop, move to the other variations.
The inspiration for using walnut comes from Sara Buscaglia of Ancient Futures Farm and author of the book Farm & Folk Quilt Alchemy (we have signed copies!) In her book, Sara beautifully articulated some ideas that I’d been mulling over and when I saw the results she achieved, I knew we should dive in and start testing colors. We’ve done experiments with quebracho, walnut, osage, sumac, gallo-tannin and more. It’s been a lot of fun!
Here are some ideas to get you started. We are dyeing with a variation of the traditional tannin-alum cellulose mordant recipe, but have replaced the tannin source with Walnut. Walnut adds a cool beige base to the palette and surprising shades develop when we use it with indigo.
Walnut Blues with Iron – the basic sequence
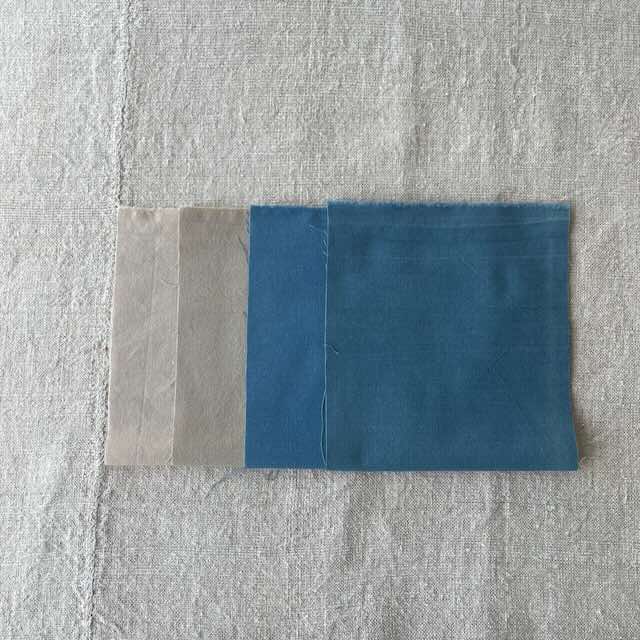
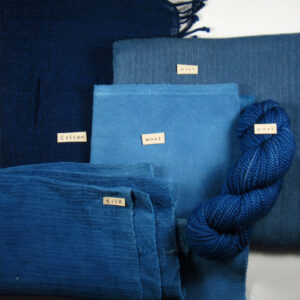
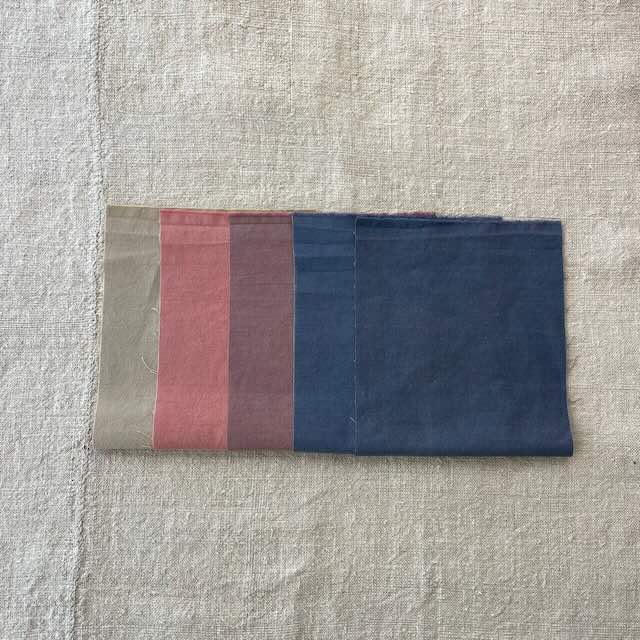
Pictured here are overdyed Walnut samples with Indigo. From left to right: walnut, walnut with iron, walnut with indigo, and walnut with iron and indigo
Start with 4 pieces of cotton, each approximately the size of a fat quarter (18×22 inches)
Scour cotton fabric, using our scour recipe
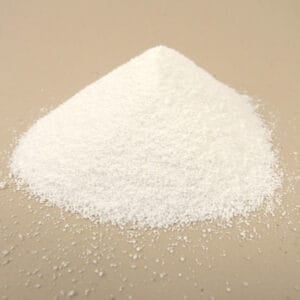
Then follow our tannin-alum mordant recipe using Walnut Hull Powder in place of Gallo Tannin. Mordant fabric with 25% Walnut Hull Powder and simmer for 1 hour. Note: since walnut dyes fairly light on cellulose fabrics, it is possible to steep the fabrics in the walnut bath longer to achieve a richer shade. You can simmer the fabrics in the dye bath, then let them sit overnight. You can also increase the amount of walnut to 50% or higher if you want to shift this palette darker and more walnut-forward. Once you are done with the walnut application, do not rinse and proceed to mordanting. Then create an alum mordant bath with 15% aluminum sulfate or aluminum potassium sulfate and 1.5% soda ash. Soak the fabric in this bath for 1 hour. Rinse and continue to the next steps with iron and indigo.
Once the fabric has been mordanted, it will be a light beige and you will have 4 pieces the same color.
For piece #1, let this fabric air dry away from direct sunlight. This is your walnut base color.
For piece #2, dip this piece into a medium indigo vat to create a light-medium indigo shade. Rinse once it’s oxidized completely and set aside to dry. This is the walnut base color + indigo
For pieces #3 and 4: Prepare an iron post bath using 1% of the weight of the 2 pieces of fabric. Dip both pieces into the iron bath until you see a color change. Remove both pieces and rinse. Allow piece #3 to dry. This is your walnut + iron color.
For piece #4, dip one walnut + iron piece into a medium indigo vat to create a medium-dark shade. Rinse once it’s oxidized completely and set aside to dry. This is the walnut base + iron + indigo shade.
Congratulations – you’ve created a lovely cool blue gradation using walnut!
Walnut with Iron, Madder, and Indigo

Pictured here are from left to right: Walnut with iron, Walnut with Light Madder, Walnut with Light Madder + Iron post dip. For the Blues, the medium dark blue is Walnut + Madder + Indigo and the very dark blue is Walnut +Madder + Iron + Indigo.
Start with 5 pieces of cotton, each approximately the size of a fat quarter (18×22 inches). Mordant with Walnut Hull Powder and aluminum sulfate + soda ash as above.
Once you have completed mordanting with Walnut and aluminum sulfate, you have some exciting color combinations to try. Note that you will create the iron dip on 3 pieces of the walnut fabric, then overdye those iron-dipped pieces into madder and then indigo. Read the instructions carefully as it can be confusing. It is helpful to number the edge of each fat quarter to keep track of the pieces as they go through their transformations.
For pieces #1, 3 and 5, prepare a 1% iron post bath and dip 3 pieces of the base light beige walnut shade into this bath. Once the color changes, remove and rinse well. Set aside piece #1 and let dry away from direct light.
You will now have 2 pieces of walnut + iron and 2 pieces of walnut only. Rinse the iron samples well and keep them separate as the iron can accidentally stain the walnut only swatches.
For pieces #2, 3, 4 and 5: take 2 pieces of walnut and alum mordanted fabric, and 2 pieces of iron-dipped fabric and dye both of them together (yes, this is okay if you’ve rinsed the iron pieces well). Use 0.5% madder extract. The walnut only pieces will dye a warm coral and the iron pieces will shift toward a mulberry shade. Set aside one warm coral (walnut + madder), which is #2, and one mulberry-iron piece, which is #3, to dry, keeping them separate.
For pieces 4 and 5: you will have 1 walnut+madder and 1 walnut+ madder + iron. Dip them both in a medium indigo vat until you have a dark shade. Allow to oxidize and then rinse well. These two final colors will be walnut+ madder + indigo, which is #4, and walnut+ madder + iron + indigo, which is #5.
This is a little bit of a brain-twister, but it creates a lovely palette!
Notes:
- All of these colors were mordanted and dyed, with indigo being the last step in the process. This is the reverse of what we normally do in our studio but it makes for some beautiful colors! You can try either sequence to see if one method works better for you.
- Rinse fabrics after mordant, iron post-dip or madder dyeing and before dipping into indigo.
- Rinse after the final indigo dip and air dry away from direct sunlight.
- We dip our indigo a minimum of two times as we get the best results with multiple dips.

