
Working for a natural dye guru can give a social media director and consultant (that’s me) an inferiority complex. In fact, when people ask me who I work for and I tell them, Kathy Hattori, a “natural dye guru,” and they say “Oh, you must be really good at dyeing,” all I can do is shrink back a bit and say, “I’ve only dyed once…and um, that was with Kathy.”
The look of surprise too many times on people’s faces got me thinking, why WASN’T I trying to learn how to dye? Why was I letting Kathy and all her devoted followers have all the fun? So I proposed to Kathy we do this very series I am kicking off today: “Dyeing for Dummies,” with me, Amy DuFault as chief dummy.
I have to admit, I was really scared to dye-I kept thinking “I’m going to do it wrong,” I procrastinated, I thought I probably wouldn’t be too good at it and then, suddenly I was intent on searching for a “non-reactive pot,” (as Kathy’s instructions read), tearing open my Natural Dyestuffs Kit, opening up some mordant, throwing in a wool headband and prepping my small start for what I hope will be a new ever-evolving hobby.
As a sustainable fashion writer, I also think it’s pretty cool to use natural dyes to create color and edit your existing wardrobe.
Seriously, it’s like Pandora’s Box.
But let’s back up. Even before I did this, here were some questions I emailed Kathy with:
ME: What the hell is a non-reactive pan?
KATHY: Stainless steel.
ME: Does it matter if there is rust on the bottom of a dye pan?
KATHY: Yes, do not have rust at the bottom of the pan or it will react to the dyes.
ME: How much water can you put in with that mordant and how much stuff can you dye at once?
KATHY: You can fill it to the top and put a whole bunch of stuff in.
And then during:
ME: My thermometer isn’t reading as high as you said it should!
KATHY: If you see little bubbles on the edges consistently it’s at the right temp.
ME: Shouldn’t this headband be on fire? I AM COOKING IT!!!!
KATHY: Amybabe, now you just sound like a dummy.
Ok, so check out how I fared for Dyeing for Dummies recipe #1 where I used Botanical Colors Walnut Hull Powder and turned a creme-colored, wool headband into a naturally-dyed, Botanical Colors delight!

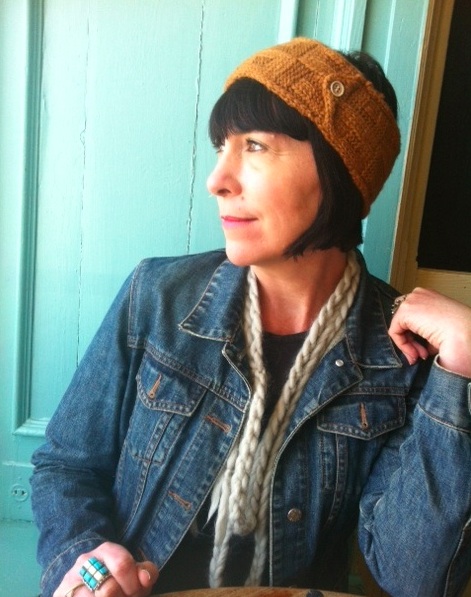
Specimen #1: A perfectly pretty, but plain wool headband…
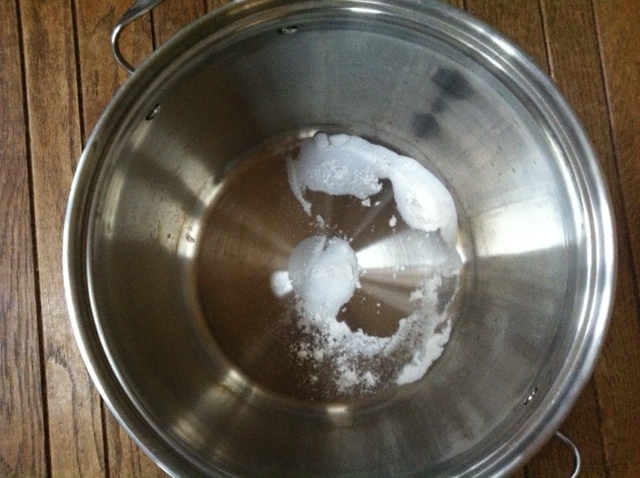
2. A sprinkle of some mordant into a pot extremely too big (but it worked so who cares).
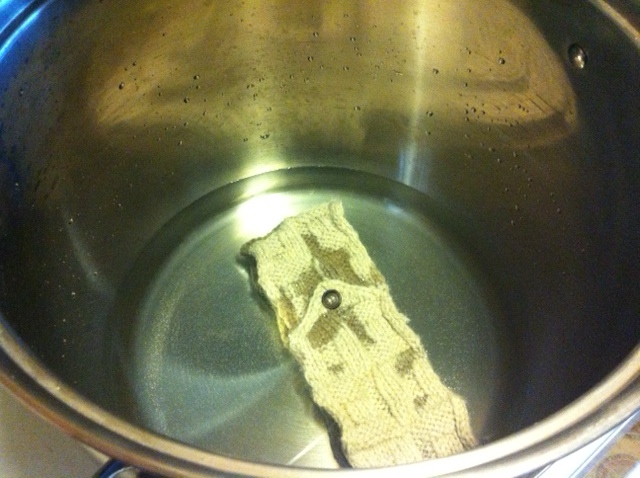
3. In goes the headband into the unknown…

4. I believe this is what many consider “natural dye porn.”
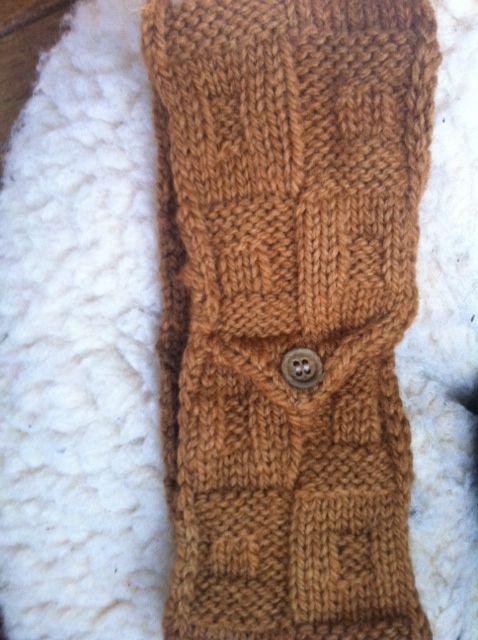
5. OH MY GOD!!!! I did it! I turned that baby brown!
So with complete fulfillment and lots of Instagram bragging, I have now entered the world of Kathy’s where as a young color Jedi, I am in training to physically and spiritually align myself with her world. Next time, will I put more than just a teeny headband into a pot fit for quilts? Will I make my entire house smell like a herd of sheep have passed through? Will I graduate to shibori?
Who knows, all I can say was that my first time was fun.
For the recipe I used to create this chocolatey brown color, order this kit and follow these (pretty easy/will get easier the more you dye) directions:
Mordant Process:
1. Dissolve 2 tablespoons of Alum in 32 ounces of water in a non-reactive dye pot. Kathy’s note: you won’t screw things up but rust will probably influence the color darker and slightly grayer. In this case with walnut, it can be an okay thing.
2. Optionally, add 1 tablespoon Cream of Tartar to brighten color and help keep wool soft. (I totally did this.)
3. Stir well to dissolve.
4. Add fibers to the dye pot and stir gently until heat gets to 200 degrees Fahrenheit (or, as Kathy says, little bubbles are consistently all around the edges. Kathy’s note: Overenthusiastic stirring = felted items
5. Hold at this temp for 45 minutes rotating occasionally and then allow to cool. (Side note: your house should smell like a sheep farm now so good ventilation is recommended.)
6. Remove fibers from dye pot, extract excess liquid gently, let cool and rinse briefly. You may also leave fibers to cool in the mordant bath overnight. Kathy’s note: Wear gloves as alum is drying. If you leave the fibers in overnight, make sure they are completely submerged in the alum liquid.
Dyeing:
In the Botanical Colors Raw, Natural Dyestuffs Kit, you have 4 options for color. I picked what seemed the easiest to me: Walnut Hull Powder.
1. Use the same pot as you used before with the mordant, just give it a rinse.
2. Add 1 tablespoon-3 tablespoons of Walnut Hull powder to pot and add enough cold water that will “comfortably cover “your fibers (this is enough dye for approximately 8-9 ounces of dry weight fiber). If you want a deeper brown add 3, you get the idea. Kathy’s note: stir well. No floating dry bits on the surface.
3. Allow the fibers to saturate with dye 15-20 minutes.
4. Slowly bring up the heat to a low simmer (bubbles, remember the little bubbles…) and hold for one hour while carefully rotating the fibers in the dye bath. You may simmer for several hours to deepen the shade but if you didn’t put in enough water like this dummy did, you’ll only have enough water for an hour. Kathy’s note: If you need to add more water or more dye, just remove the fiber first and put it in a bucket, add the other ingredients, stir and then put the fibers back in. You can also let the fibers cool in the dye pot for several hours or overnight after your one hour simmer.
5. Rinse the cooled fibers well in water and air dry.
6. Once your fibers are dry, you may shake out any excess walnut hull particles. You will feel really natural because of this.
I have edited down the directions for you but when you order this kit, because you should, it’s really fun, you can see some variations Kathy has on deepening color, re-using dye baths and more things that scared the hell out of me as a first timer.
Now, get some friends together with some fibers and have some fun!