Lots of you have asked us for a how-to on making lake pigments. We thought we’d skip an amateur tutorial from us and go straight to the pro… Lake pigment queen Natalie Stopka!
If you don’t know Natalie, she’s an artist and educator who works in collaboration with the materials and forces of the natural world. Her drawings and prints incorporate plant dyes and historical pigments, which provide a seasonally evolving vocabulary of texture and color. We’ve been pretty obsessed with her work since the day we met her.
For more information on lake pigments – their myriad hues, chemistry, history, and artistic applications – check out Natalie’s upcoming workshops! She’s leading an online Lake Pigments workshop in December you won’t want to miss.
Natalie Stopka’s Tried & True Lake Pigment Tutorial
Lake pigments are a fantastic way to use up leftover dye, converting it into a self-stable powder. The pigments can then be used to make artist’s materials including watercolor, oil paint, pastels, and crayons, extending the applications of our beautiful dye colors to new realms of expression! Lake pigments only require a dye, a mordant, and an alkali to precipitate the colorant molecule onto an insoluble carrier.
This starter lake recipe is for use with dried plant material, not extracts which are much more potent. If you’re starting with fresh plants, divide their weight by 4 to estimate the dry weight. Be forewarned that filtering can take quite a while! Just let gravity do its work. The entire process from plant to dry pigment will take about one week.

Ingredients
Dry dye plant material, at least 20g
Sodium carbonate (soda ash)
Distilled water
Tools
Coffee filters
Sieve or funnel
Clear jar or bucket, at least 1qt
Digital scale

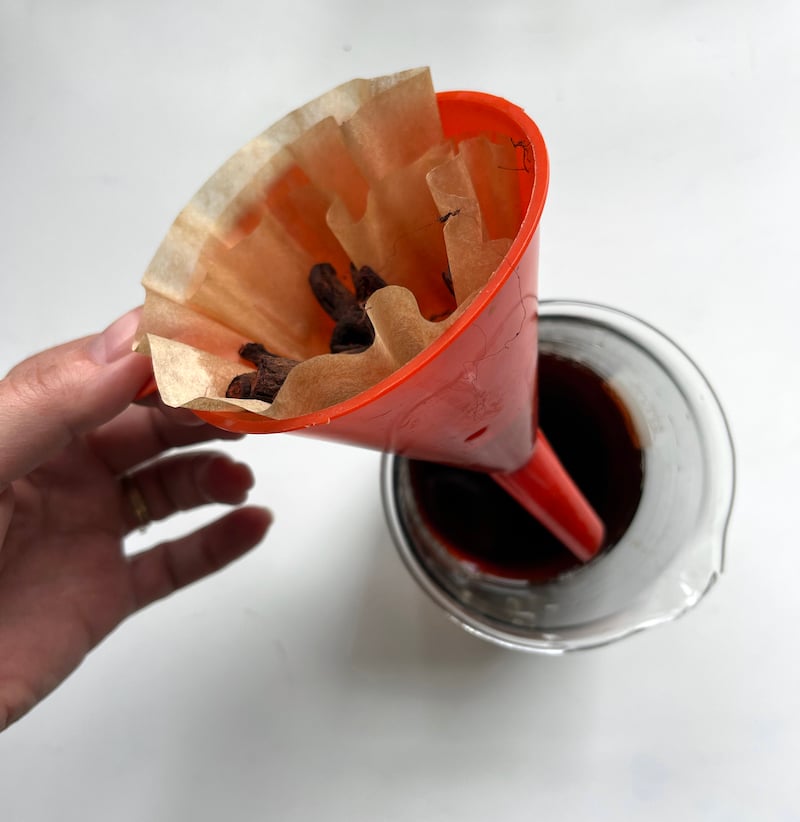
1. Extract the dye from your plant material, and filter through a coffee filter placed in a sieve or funnel. Save the plant material for a secondary extraction, or compost it.
2. Reheat the dye liquid to 110-175 degrees F, and pour it into a jar at least 2x the volume of the liquid.
3. Measure alum equal to 60% the weight of your starting plant material. Add to the hot dye, and stir well to dissolve.
4. Measure soda ash equal to half the alum quantity. Dissolve this in a separate container of hot water, stirring well.

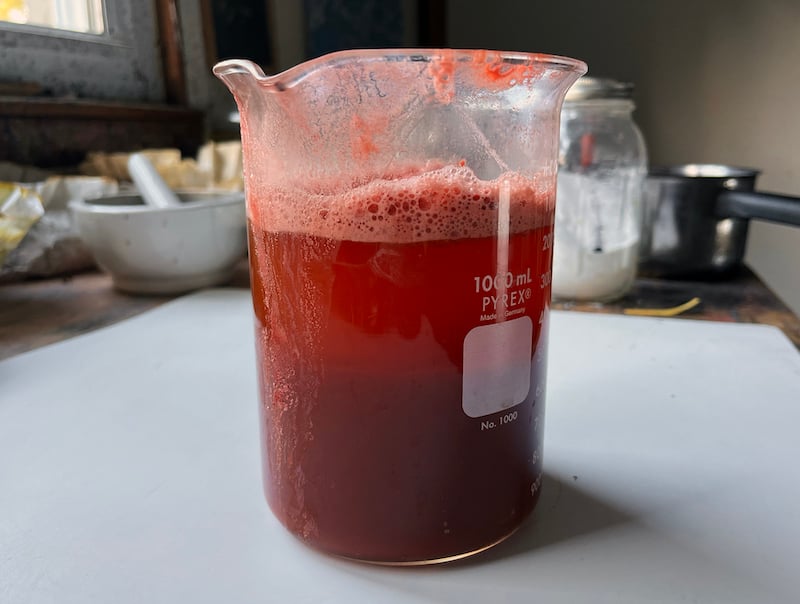
5. Gradually pour the soda ash solution into the dye. It may bubble up! This is the neutralization reaction between the acidic alum and basic soda ash throwing off carbon dioxide. If you are laking in a large volume of water (say, to exhaust a pot of dye), the reaction will be diffuse or even unnoticeable.
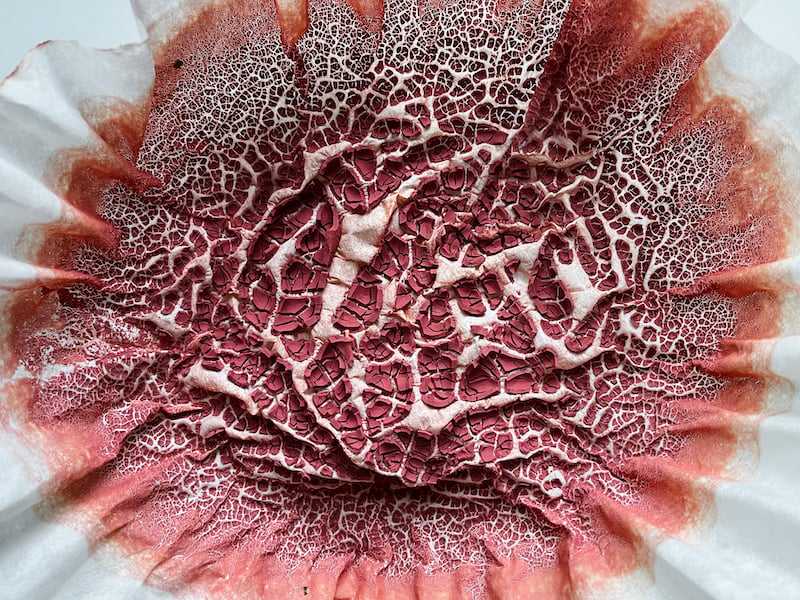
6. If you allow the mixture to settle overnight, you’ll see it separate as the cloud of opaque lake pigment precipitates to the bottom of the container. But you don’t need to wait and watch this happen, you can simply pour the mixture through a coffee filter to collect the lake pigment. It may take up to 24 hours for the liquid to pass through the filter, depending on how much plant material you started with.

7. If the leftover liquid which has passed through the filter is still strongly colored, you may opt to lake it again by repeating the entire process to capture more color. If it’s a pale or medium shade, it can be discarded.
8. The wet lake pigment in the filter now needs to be washed with distilled water. This will purify it of any lingering botanical residue which may cause spoilage, and mineral salts which crystallize. Pour into a jar or bucket of distilled water equal to roughly 4x the amount of pigment. Pick up the filter, and just toss it into the water. When the moisture has released the pigment paste from the filter, you can fish the paper out.
9. Stir the pigment to break up any clumps, and rest for 5-10 minutes. Pour the mixture through a fresh filter. Yes, this process of filtering can take a while, but it’s important!

10. Repeat steps 8 & 9 for two total rinses in distilled water. Spread your filter of wet pigment out to dry. After several days, when it is totally dry, carefully scrape the pigment from the paper. Store indefinitely in a lidded container away from direct sunlight. When ready to use your pigment in making artist materials, remember to always wear a mask when grinding dry powders.
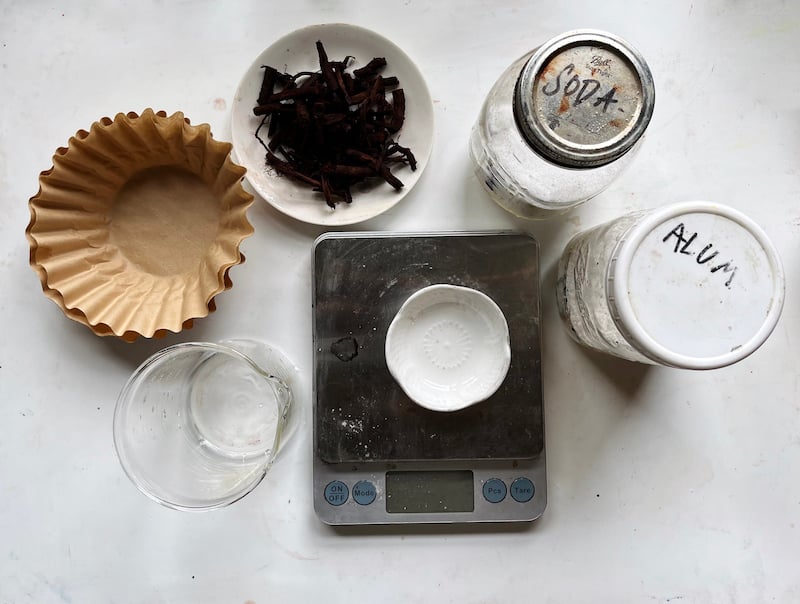
Here’s what I’ve used in the images above:
18g aluminum sulfate (60% the weight of the madder)
9g soda ash (50% the weight of the alum)
FAQ
How much water?
It doesn’t matter terribly much, so long as it is enough for all the ingredients to dissolve. About 20x the amount of whatever you’re dissolving works well, i.e. 200ml per 10g plant material, alum, or soda ash. The reaction will still work in a much larger volume of water, but the fizzing may not be evident.
What if I want to exhaust a dye bath by laking?
Every time you dye something, you’re lessening the amount of color in the pot and will need to decrease the lake recipe accordingly. Make a best guess of how depleted the dye bath is; if it’s half used up, lake with half the amount of alum and soda. If the dye bath is fully exhausted, it’s not worth laking because all the color is gone.
Want some additional inspiration? Check out these books on making lakes and pigments:
