Indigo has a long standing history of heavy-duty power in terms of economics and trade and is probably one of the most talked and written about dyes in the natural dye world.
We love the color blue and all its moodiness. It’s also very in for fall 14. Get ready for the navy explosion!
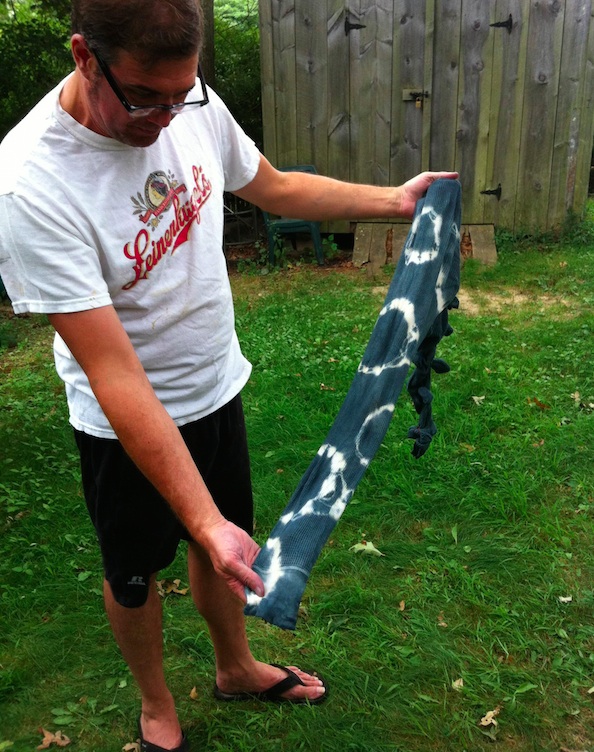
For this Dyeing for Dummies, I have put not only myself but husband and daughter in the cross hairs of looking foolish, over exuberant, and dummy-like. (Side note, they had a blast and refuse to be called dummies.)
We used all of Botanical Colors’ dyes and ingredients to make Michel Garcia’s 1-2-3 Vat, making mistakes along the way but then, I have Kathy Hattori’s direct line for questions so why freak out?
Michel Garcia’s Easy Organic Sugar Vat (1-2-3 Vat)
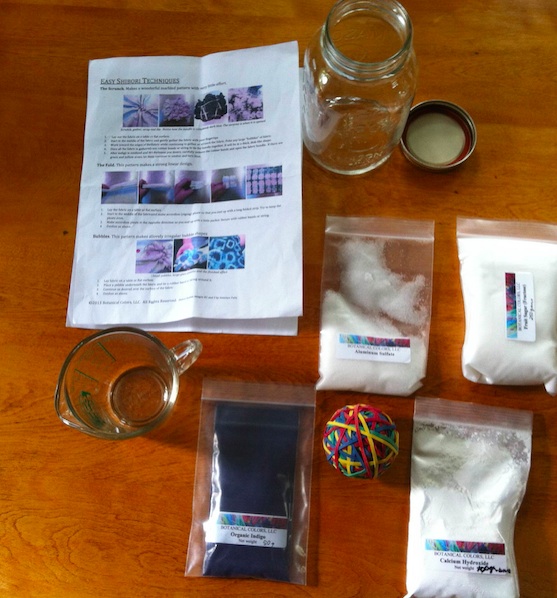
Note: All of these ingredients may be purchased as a kit or purchase indigo, fructose and calcium hydroxide separately.
- 1 part powdered natural indigo
- 2 parts calcium hydroxide, also known as pickling lime
- 3 parts fructose crystals
- Dust mask and gloves (calcium hydroxide can be irritating)
Create your stock in a large gallon-sized, heat-resistant jar or a sturdy gallon-sized plastic container.
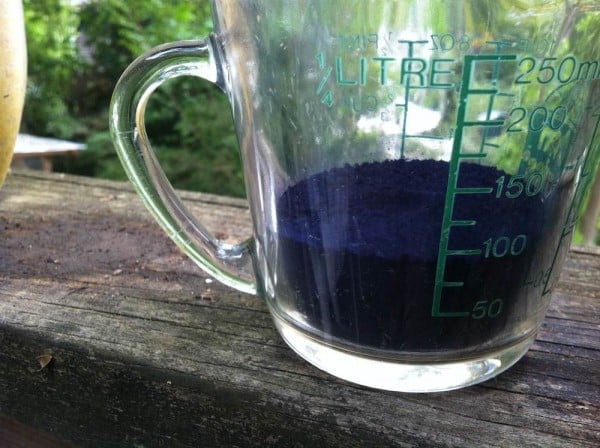
You will be adding hot water, so make sure the plastic is heat resistant. We made our stock with 100 grams (approx. 3.5 ounces) of indigo in a gallon container, so that is about the correct size. If you are making anything larger than that, you’ll need a larger container (like a 2-3 gallon container) to mix the stock and make sure there is enough liquid to create the chemical reaction for preparing a vat. Of course, the beauty of this recipe is you can use just a spoonful of indigo (15 grams), two spoonfuls of calcium hydroxide (30 grams) and three spoonfuls of fructose (45 grams), if you’d like a smaller vat, and you can use a smaller 1 or 2 quart-sized jar for the lesser amount of indigo.
Wet out the natural indigo with a little hot water to form a thin paste. Make sure the indigo powder is completely wetted out, with no powdery areas at the bottom of the jar.
Add about 2 cups of warm tap water (120°F or 50°C) and stir. The solution will be dark blue and a bit gritty. Carefully add about 2 more cups of warm water.
Wear a dust mask and carefully add the calcium hydroxide and stir well. The mixture may get hot with the chemical reaction, so add it gradually. Work out any lumps but try not to beat it so much that you add a lot of air into the solution. If the mixture starts to gets stiff, thick and sticky, carefully add more hot water to loosen the mixture. The solution should be fairly runny, and not thick or pasty.
Add the fructose crystals and stir well. If the mixture starts to thicken, add more hot water to maintain the thin liquid consistency.
Top off the jar or container with additional warm water once the calcium hydroxide is incorporated.
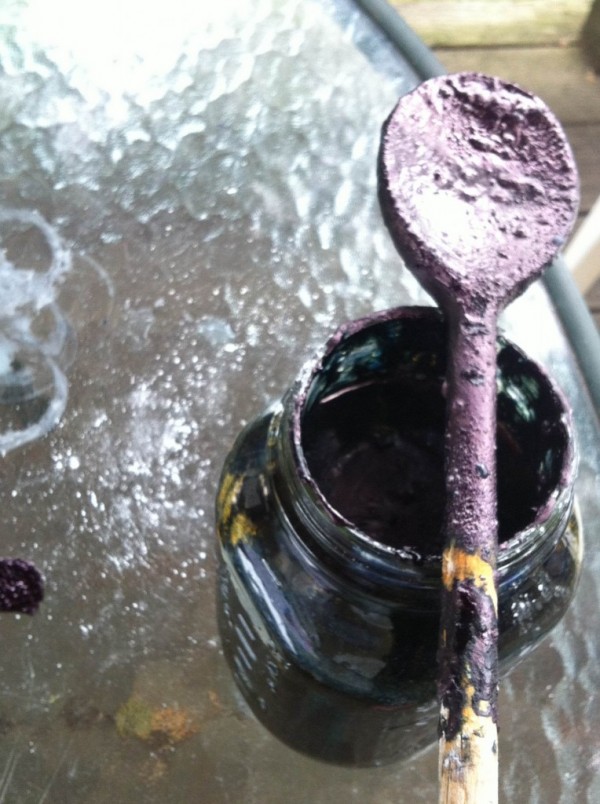
The solution should now look greenish yellow and somewhat murky. Let it stand for about 30-60 minutes, until you can start to see a separation in the jar. It may be difficult to see at first, as the liquid can be very dark, but it usually starts separating within an hour. If you turn the jar toward a light source, you can often see the separation more clearly.
Observe the stock and you can see the liquid near the top is getting clearer and yellow-green – Kathy says “Don’t worry if it turns brownish red, that’s okay too.” You should have a layer of scum and a cluster of indigo bubbles as well.
After you can see the initial separation, give the jar a stir, and let it settle. You can make this solution in advance. Label your jar with the amount of indigo, date it and cover the container. It will hold for several weeks, and improves with a few days aging.
How to tell if it’s ready…
There’s a nice dark blue indigo flower on the top of the jar of solution and a layer of coppery scum as well.
There’s a clear demarcation between the liquid in the vat and the layer of sludge below.
The color is a yellowish green (it will look somewhat opaque – different than the startling clearness of a chemical vat). It can also look brownish and amber-colored, but will be clear and not cloudy, murky, or dark blue.
Preparing the Indigo Vat
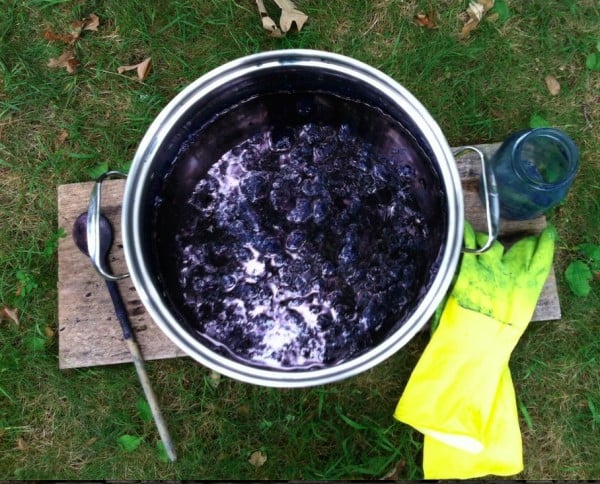
Fill a non-reactive container (bucket or dye pot) about 2/3 full with hot water – approximately 120F.
Stir the stock solution to incorporate the sludge at the bottom. If you have used 100 grams of indigo, add about half the contents of the solution to the bucket or dye pot. Stir gently and allow the vat to come to a yellow-green color (this takes between 15-30 minutes).
Prepare Fabric
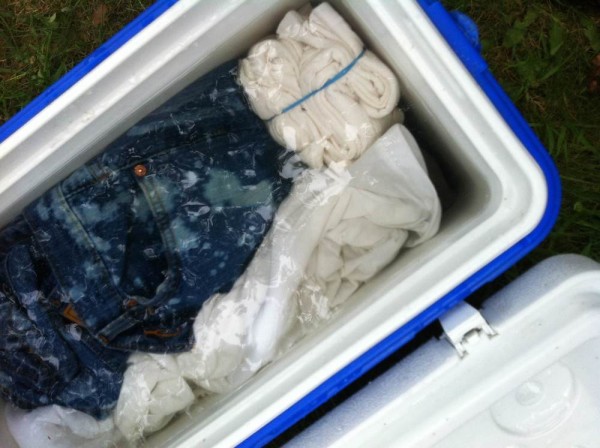
All fibers should be thoroughly soaked (wetted out) in lukewarm water prior to dipping.
We went real classy and used our old beach cooler.
When you see that the vat has become yellowish-green and there’s a blue flower and some coppery scum on top, the vat is balanced and ready for dipping.
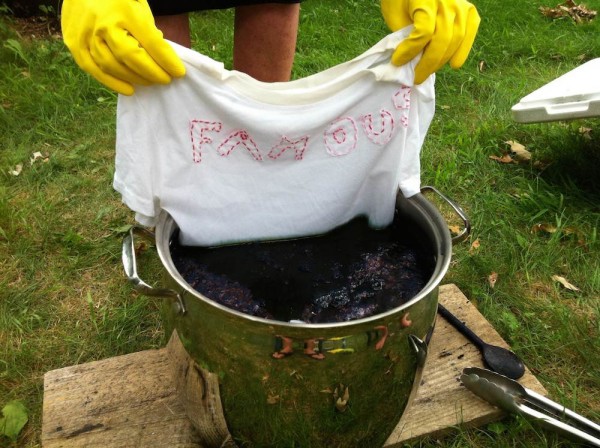
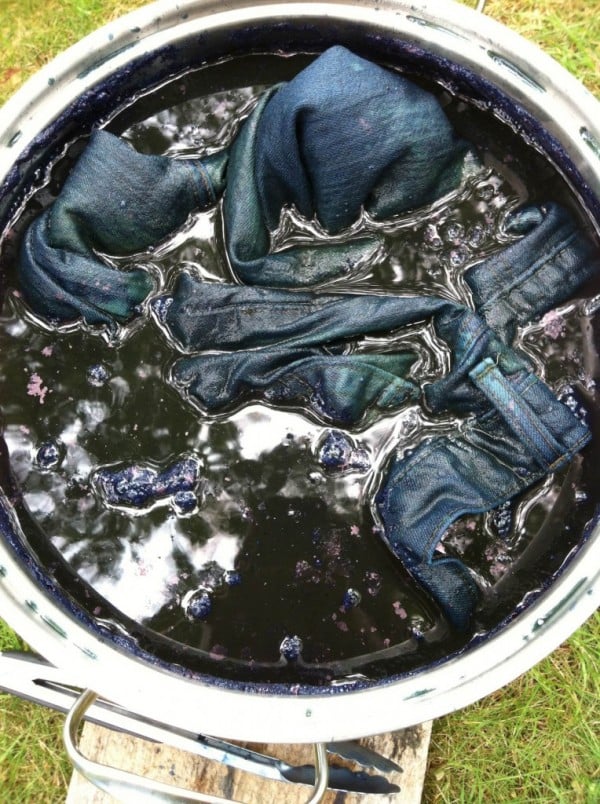
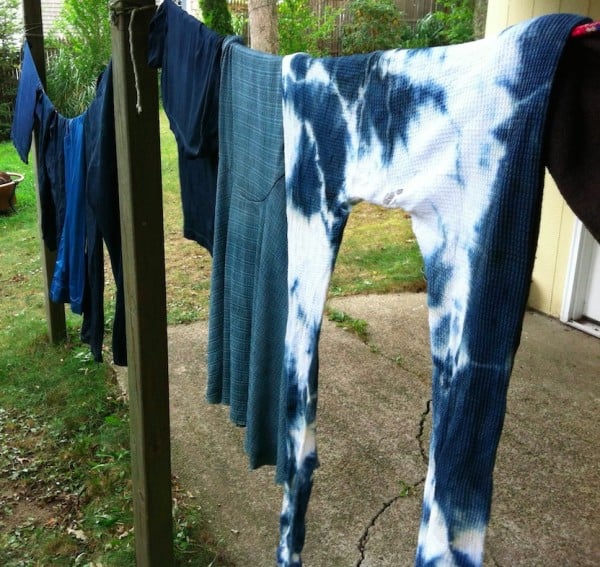
We attacked our closets after we saw how much dye we had (we truly could have used less), pulling all sorts of clothes and threw them into the vat.
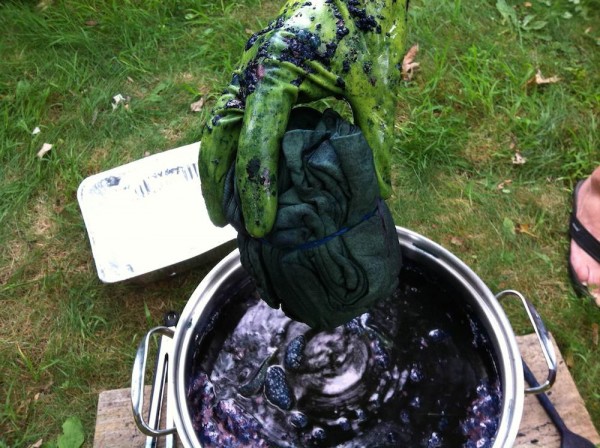
Kathy says to keep fabrics submerged for 30 seconds to 3 minutes. We went for the full three.
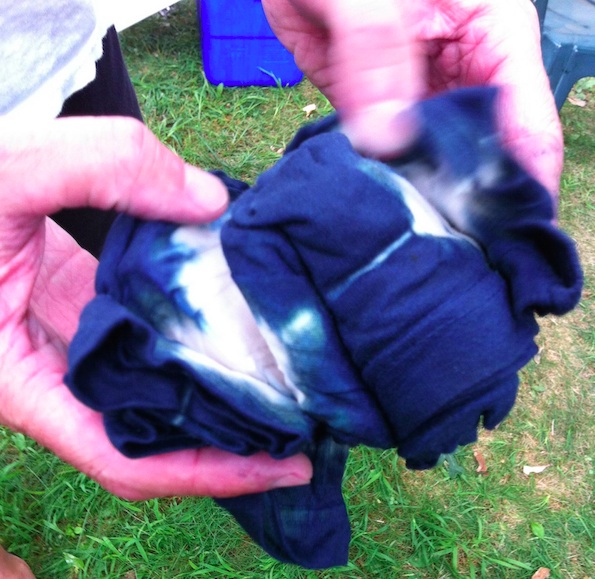
Carefully remove the fiber. You will begin to see the fibers turn from murky green to teal to blue.
This is the magic that all the natural indigo dyers talk about. It really is pretty cool.
Allow the fiber to turn blue with no teal or yellowish areas.
Let the fiber air for at least 30 minutes, unfolding corners of fabric.
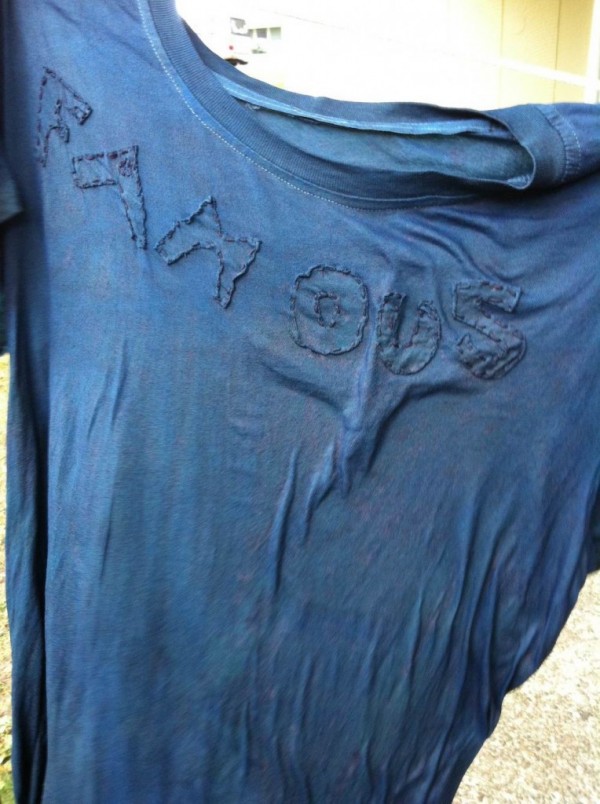
Continue dipping until the fiber is two shades deeper than what you want. As the fiber is rinsed and dried, some of the excess indigo is washed away and the fiber turns out lighter than what you see coming out of the vat. It will also of course lighten up once it dries.
Rebalancing the Vat
The vat will need rebalancing when the dye liquid turns blue. This happened to us and we didn’t have instructions next to us we just said, “Um, this vat is getting weak,” then we referred to these directions.
We reheated the vat gently to 120°F or 50°C and added a generous spoonful of fructose crystals until the vat returned to a yellow-green state.
Kathy had also suggested that if it remains blue, add a level spoonful of calcium hydroxide, stir and wait. We did it. It worked of course because as they say here in Boston, “She’s wicked smaht.”
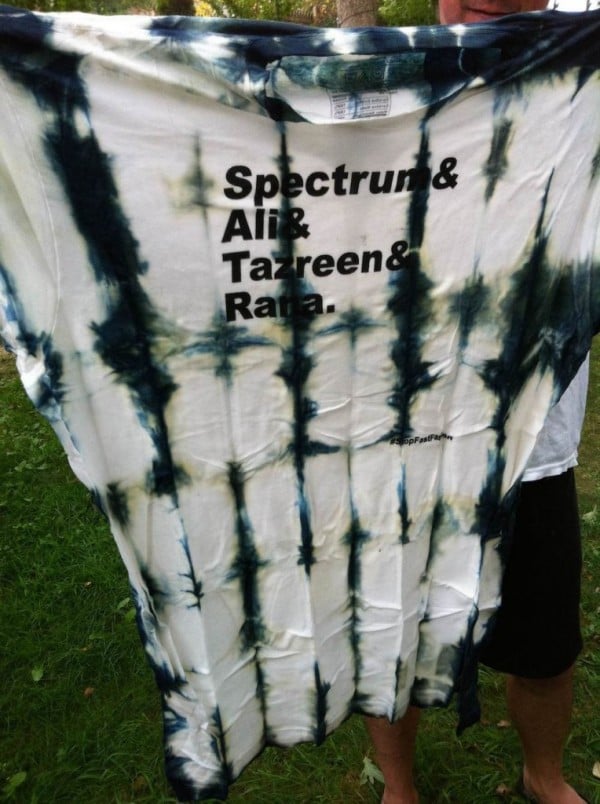
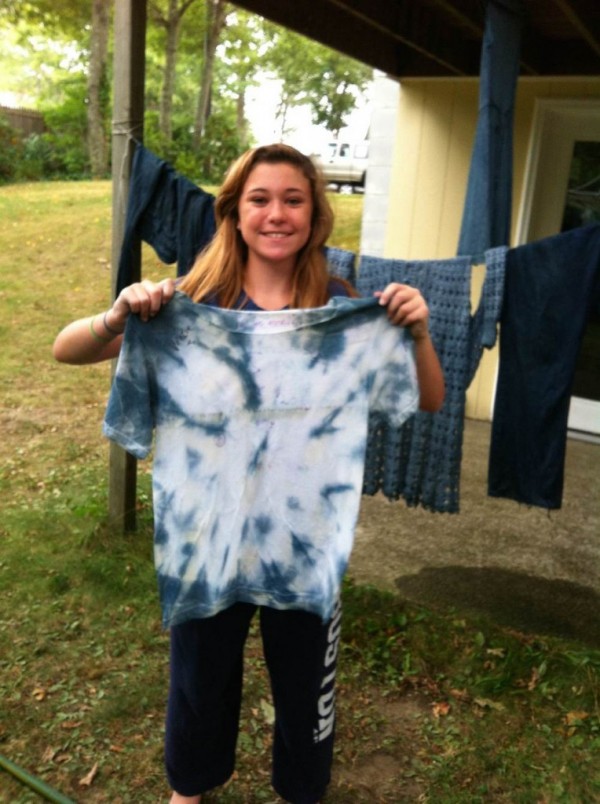
After a full day of dyeing that even my teenage daughter loved and later, wore her indigo t-shirt to school and even TAGGED me on Facebook to show off her indigo, we were hooked and can’t wait to do it again with a little more experience.
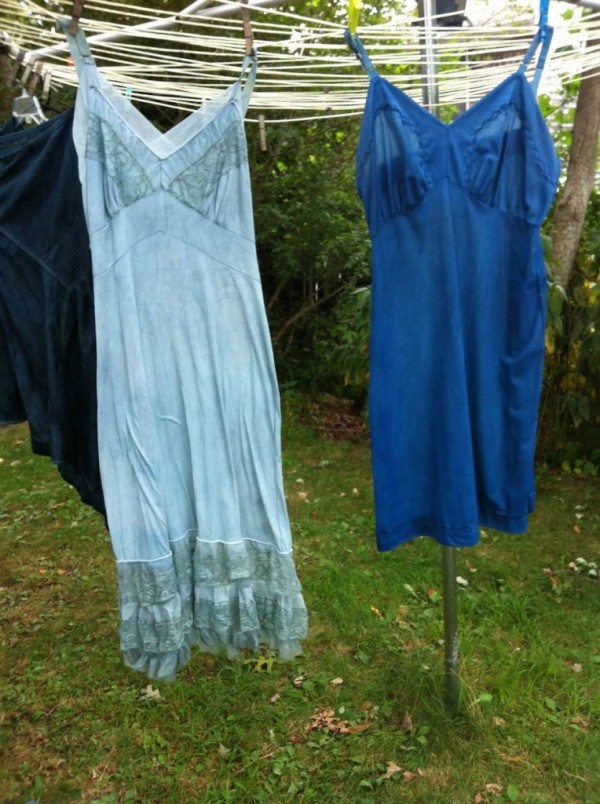
Here are some fun pics from the rest of our day:

