

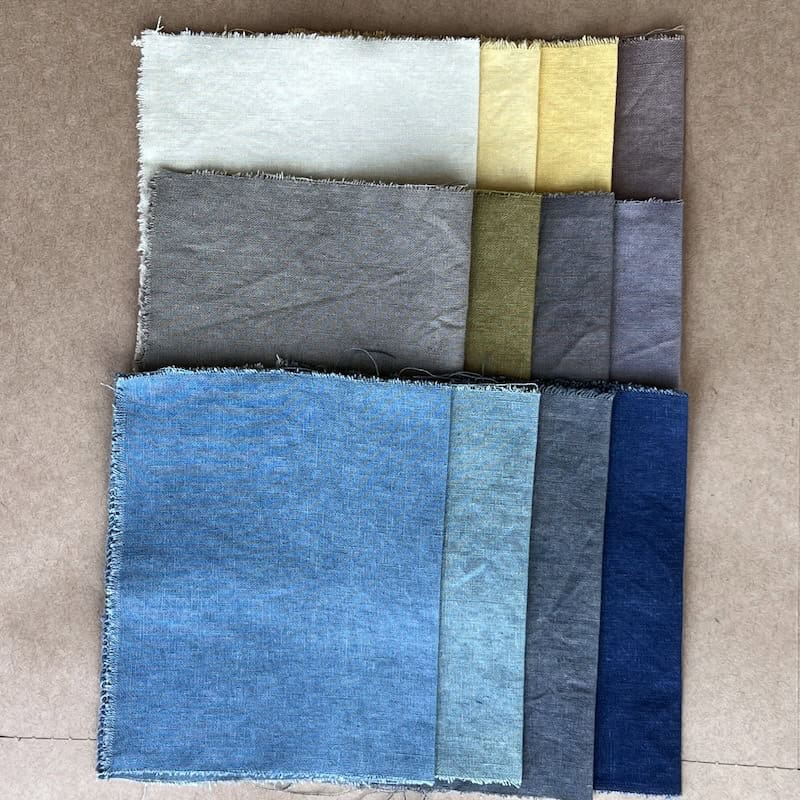
Above: each row represents a rainbow that the teams dyed. From top to bottom: Gallo Tannin, Cutch and Myrobalan
I just returned from a 5 day workshop at Sanborn Mills Farm, a favorite place to teach natural dye classes. They cultivate a full dye garden just steps away from the dye studio, and the entire farm, animals, historical buildings, teaching facilities and workshops are endlessly inspiring. My workshop started out with a challenging, but modest proposition that we work in three teams and create 12 colors for each team, 36 colors total. Each group chose a palette and we got to work.
About a day into it, I realized that we would be done in two days, with three days left to teach. Gulp. Luckily, I had a lot more fabric in my stash, so we created another set of palettes and another 36 colors. The teams were even faster this time and they were done in a flash. I pulled out another round of fabrics and we worked on indigo gradations and overdyeing. By the time everyone said their goodbyes, we had created over 100 shades, gone mushroom foraging and picked dye plants for some impromptu bundle dyeing. Harmonious and Humongous color experiments. It was so much fun!
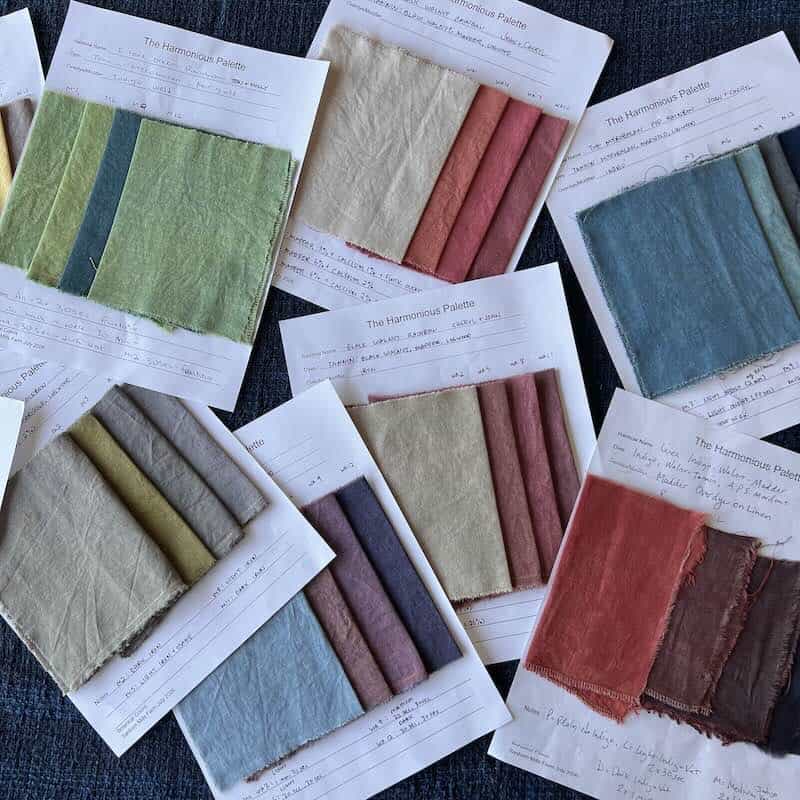
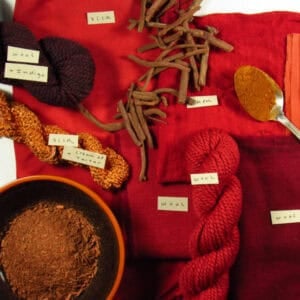
The colors were beautiful, using the traditional tannin and alum cellulose mordant, but changing the tannins and the dyes to achieve different palettes. We used iron to selectively shift colors, and indigo as an overdye.
The basic concept of this method is that you keep 3 pieces from each step and set them aside to overdye. Meanwhile, the pieces that remain in the dye bath are dyed with additional color, so they become darker. We also add other dyes so the color changes. Each time we add more dye, we reserve 3 pieces, and we create a fabric gradation from lighter to darker. At the end, we take 1 set of the reserved pieces and dip them in an iron post-bath. We take the second set of reserved pieces and dip them in indigo. The third set does not receive any other changes.
Prepare the Fabric
Fabric: 100% cotton or other cellulose fiber. Cut one yard of fabric into 12 equal pieces. The simplest way to do this is to cut the yard into fat quarters, then cut each fat quarter into three equal sized pieces. Label each piece 1 through 12. If you are doing multiple tannins at a time, we labeled using the following: Myrobalan, M1-M-12, Cutch, C1-C12, and so on. Weigh the fabric dry and record the weights for 3, 6, 9 and 12 pieces.
The Myrobalan Pod Rainbow
Myrobalan, Marigold, Logwood, Iron, Indigo
This sequence focuses on the yellow tannin Myrobalan pods, arguably one of the oldest known tannins as it originates in ancient India. It comes from Terminalia chebula, a scrubby tree with pods that are full of tannin. We are going to start with a soft yellow, then pop the color with Marigold Mix and really focus on overdyeing with indigo to create a beautiful teal to deep green palette. The final set of colors will be overdyed in iron to create some myrobalan neutrals.
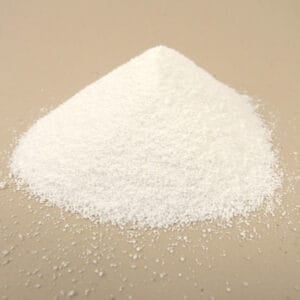
- Mordant all 12 pieces with Myrobalan Pods at 10%, then Aluminum Sulfate at 15% and Soda Ash at 1.5% Once mordanted, remove all pieces, rinse 3 pieces (the other 9 pieces will be overdyed). Reserve pieces M1, M2 and M3 and set aside. One will stay myrobalan yellow, one will be dipped in iron, and one will be dipped in indigo.
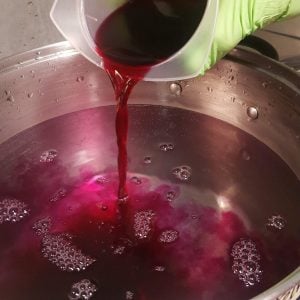
- Overdye the remaining 9 pieces by adding 3% marigold to the dye pot. Calculate the weight of 9 pieces and measure, dissolve and add 3% of marigold, stir well, then add the remaining 9 colored pieces into the dye pot. Keep the dye temperature at low heat, no hotter than 125F. Dye for another 20-30 minutes until you can see a light golden shade. Remove M4, M5 and M6 and hold one for the gold colorway, one for iron, and one for indigo.
- You should have 6 pieces at this point, and you are going to add more marigold to the dye pot to make a brighter shade. Calculate the weight of 6 pieces and measure, dissolve and add 5% marigold extract to the dye pot and re-enter 6 pieces and dye until you have a rich yellow shade. Dye for another 30 minutes at low heat. Reserve M7, M8 and M9 pieces and hold one for the gold colorway, one for iron, and one for indigo.
- You should have 3 pieces remaining, and we are going to switch it up and add .5% logwood to shift the marigold to either a bronze shade, or possibly to a green. Calculate the weight of 3 pieces and measure, dissolve and add .5% logwood powder extract to the dye pot and re-enter 3 pieces and dye. Dye for another 30 minutes at low heat. Remove and rinse. These should be M10, M11, and M12.
- The next step is to dip one set in indigo. The numbers will be M3, M6, M9 and M12. Dip to a medium indigo shade. M12 will be dipped darker to create a rich dark blue.
- The final colorway will be in iron at 0.5%. Dip M2, M5, M8 and M11 in a cold iron bath to achieve a neutral color. In class, we used a strong iron bath at 2%, and a weaker one at 0.5%. The strong bath overpowered the myrobalan, so for this recipe, we are recommending a 0.5% bath. You should achieve lighter and more nuanced iron shades than we show in the above image.
- Wash sample groups separately (iron by itself, indigo by itself) with mild soap and dry the samples away from heat.
- Adjustments. Once the samples were dried, we could see that M5 and M8 were nearly identical. We ended up dyeing M5 in a strong osage bath for 1 hour and achieved a beautiful green. Simply soak osage and immerse the piece. There is no need to heat.
/



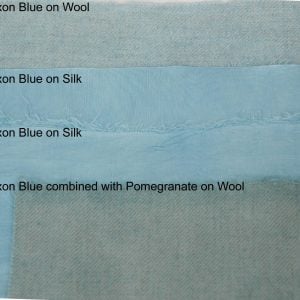
Hello Kathy and thank you for this inspiring work. I had one question about the indigo used for the overdye portion. I see that the Saxon Blue Aquarelle is suggested in the “shop the recipe” section. Did you use this form of indigo or was an indigo vat used for the workshop?
thank you
Janet
Hi Janet, We used 3 different indigo vats in this overdye, and didn’t use Saxon Blue. Thank you for asking!