How To Make 3 Easy Shibori Resists

These three, easy shibori techniques work best with indigo, but can be used with other natural dyes as well.
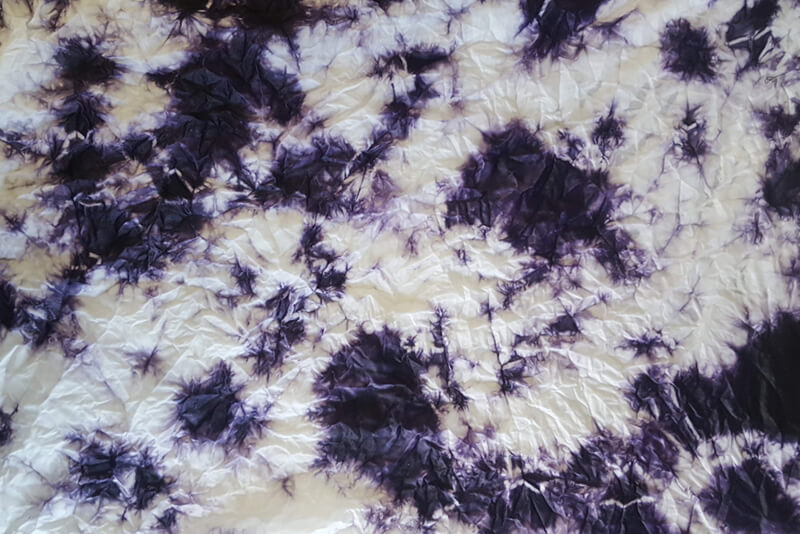
white and purple fabric dyed in an organic pattern
The Scrunch
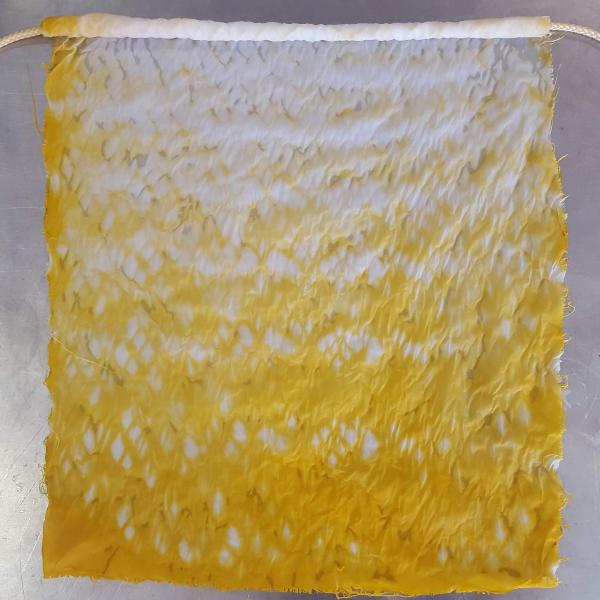
The Honeycomb
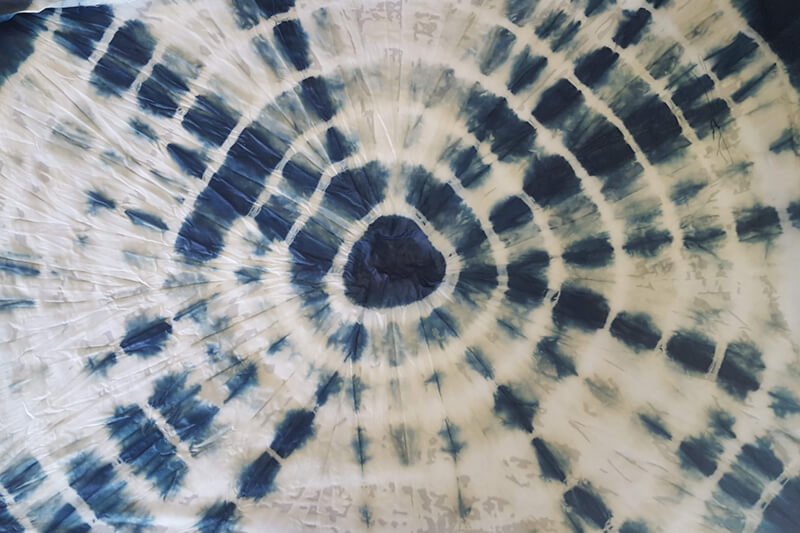
blue and white fabric dyed with radiating white circles
The Spiderweb

With all three techniques, before you begin, prepare your workspace for a messy process. Cover the surface you plan to work on with something you don’t mind getting wet and dirty and wear an apron and gloves.

The Scrunch
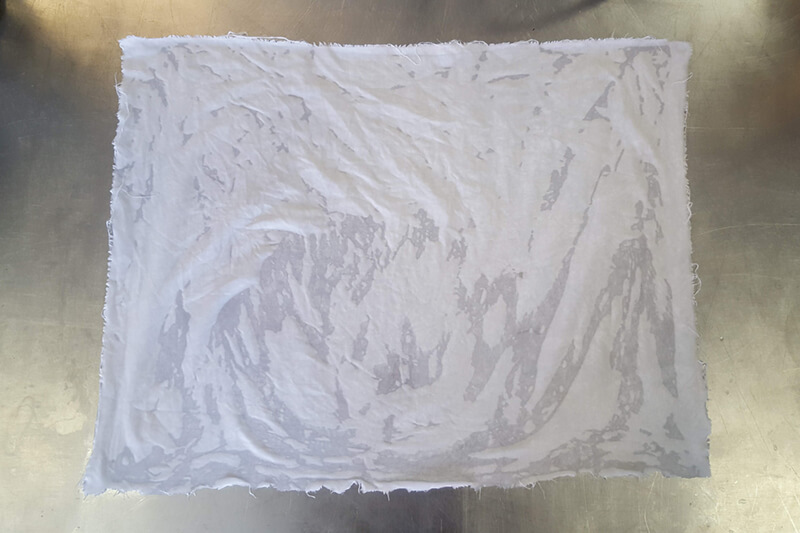
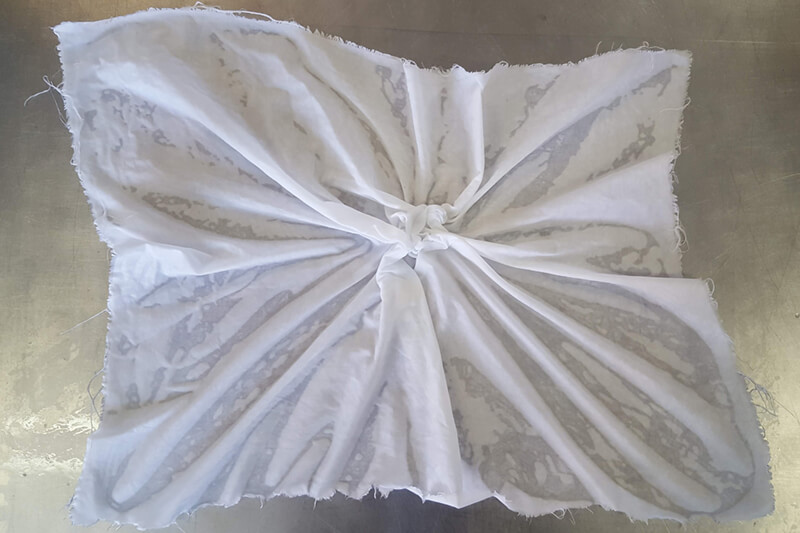
wet white fabric on a metal table
Dampen your fabric and then lay it out on a table or flat surface. If you are using a dye other than indigo, your fabric should already be mordanted.
wet white fabric scrunched up in the middle
Start in the middle of the fabric and gently gather it into a small bundle with your fingertips, pulling fabric in from the edges in small increments.
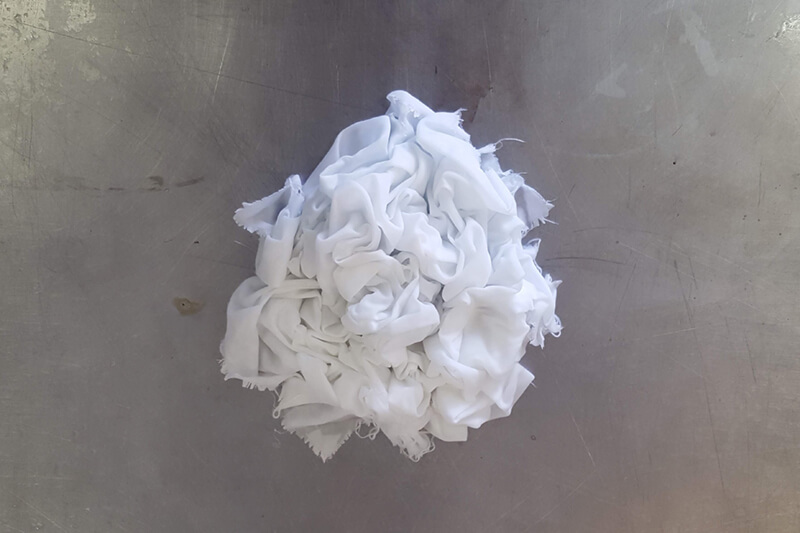
a bundle of white fabric
Work towards the edges of the fabric, continuing to gather it into a tight bundle.
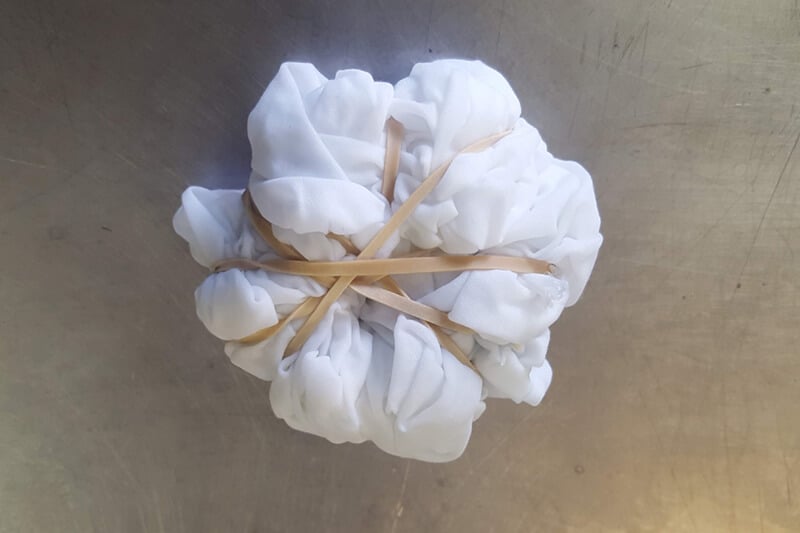
a bundle of white fabric wrapped tightly with multiple rubber bands
Once all the fabric is gathered, use rubber bands to secure it. Use as many as needed to make your bundle feel secure.

Dye your fabric in your dye of choice!

After dyeing, rinse the bundle gently. Then remove the rubber bands and open up the fabric bundle. Rinse again until the water runs clear. Air dry away from direct sunlight.

The Honeycomb

Dampen your fabric and then lay it out on a table or flat surface. If you are using a dye other than indigo, your fabric should already be mordanted.

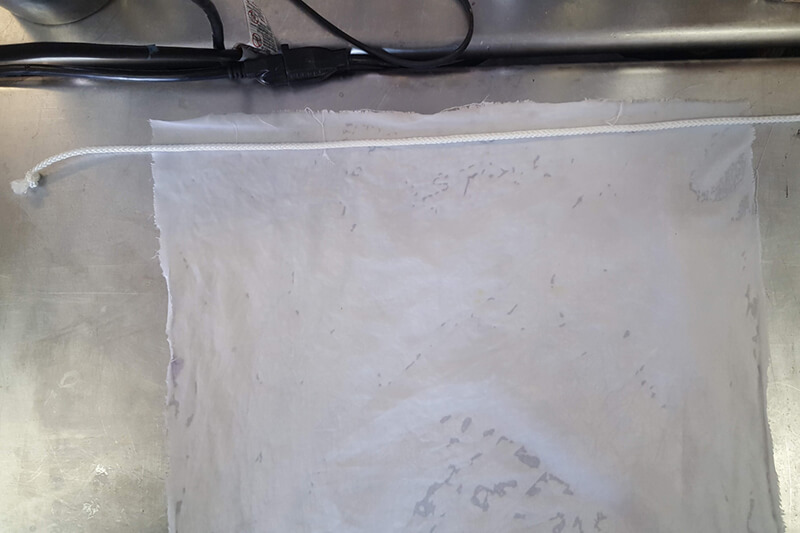
white fabric laying on a table with a rope across the top edge
Lay a piece of rope along one edge of the fabric. The rope should extend a few inches past your fabric on both sides.
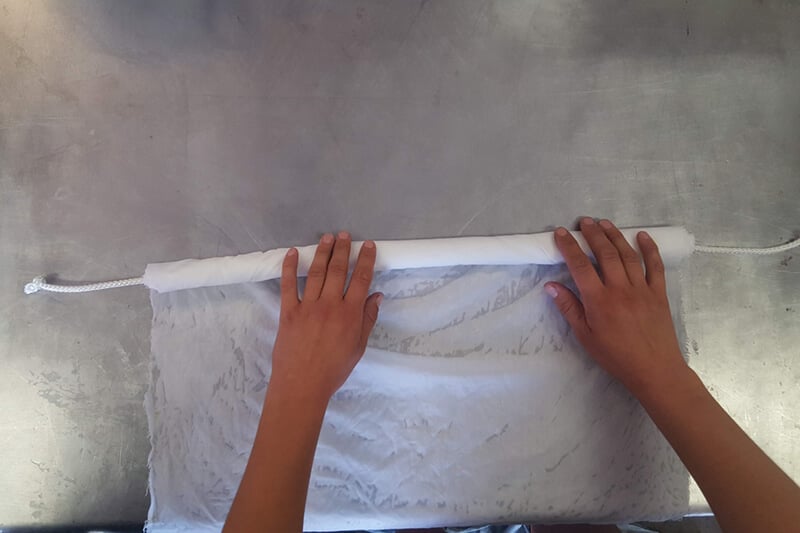
hands rolling up fabric around a rope on a silver table
Starting from the edge with the rope, start rolling the fabric over the rope, as smoothly as possible.
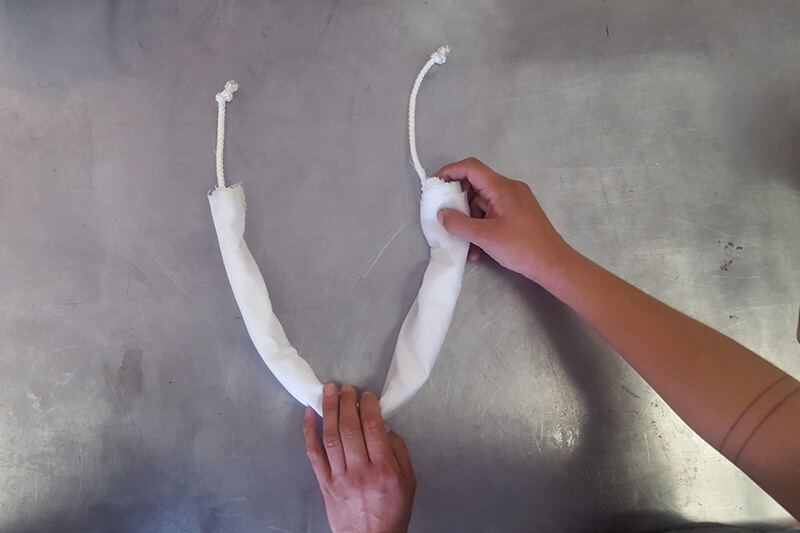
hands folding a roll of fabric and rope in half on a metal table
Once the fabric is rolled up, fold the bundle in half.
hands holding rope and fabric pulling the fabric down tightly
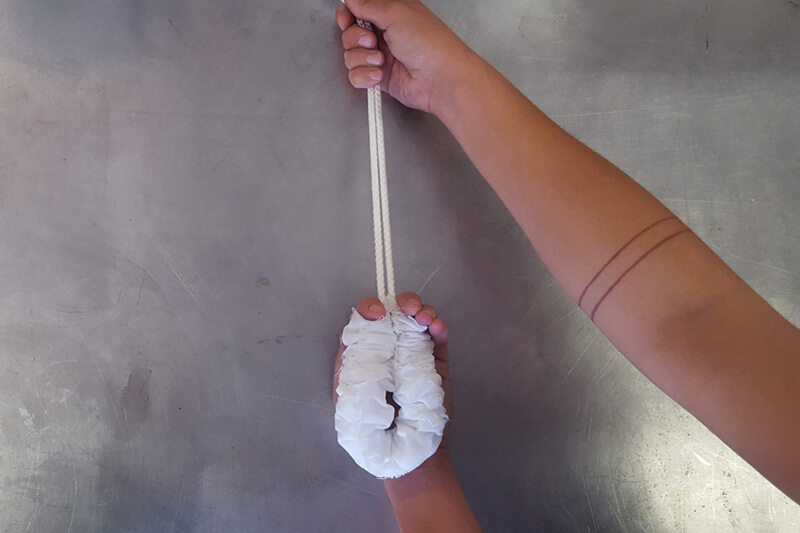
Holding the two ends of the rope securely, scrunch the fabric down the rope towards the center fold.
white fabric wrapped around rope which is tied in a knot
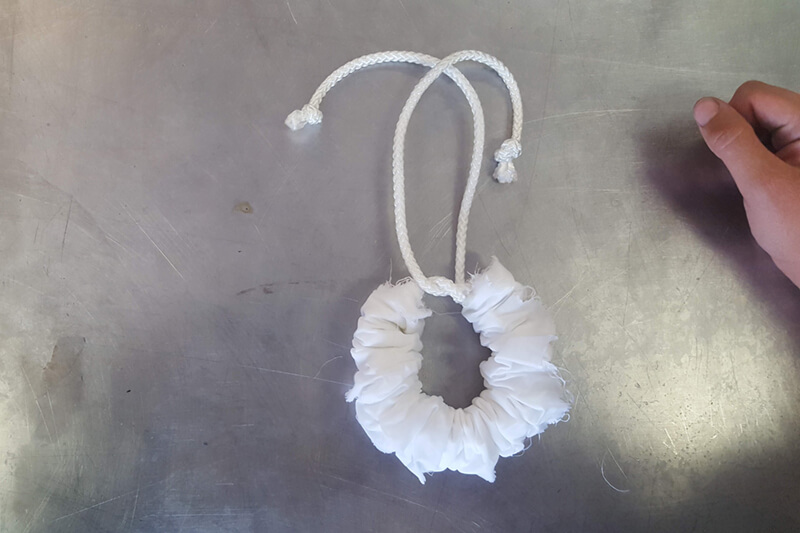
Securely knot the rope as close to the fabric as possible.

Dye your fabric in your dye of choice! If you are using something other than indigo, make sure that your bundle is as tightly scrunched and knotted as possible for the best results.

After dyeing, untie the rope and unroll the fabric bundle. If using indigo, wait until all of the dyed parts are oxidized and are blue, not green or yellow. Rinse the fabric until the water runs clear. Air dry away from direct sunlight.

The Spiderweb

Dampen your fabric and then lay it out on a table or flat surface. If you are using a dye other than indigo, your fabric should already be mordanted.
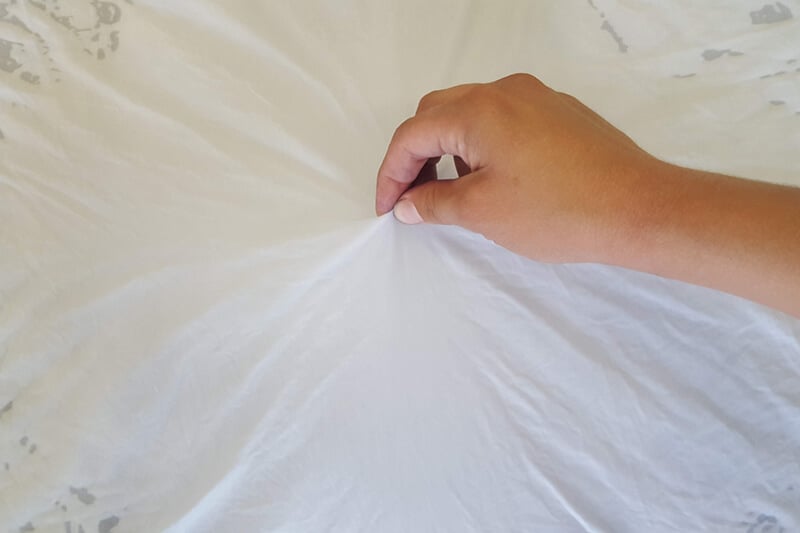
hand pinching the center of white fabric
Pick up the center of the fabric.
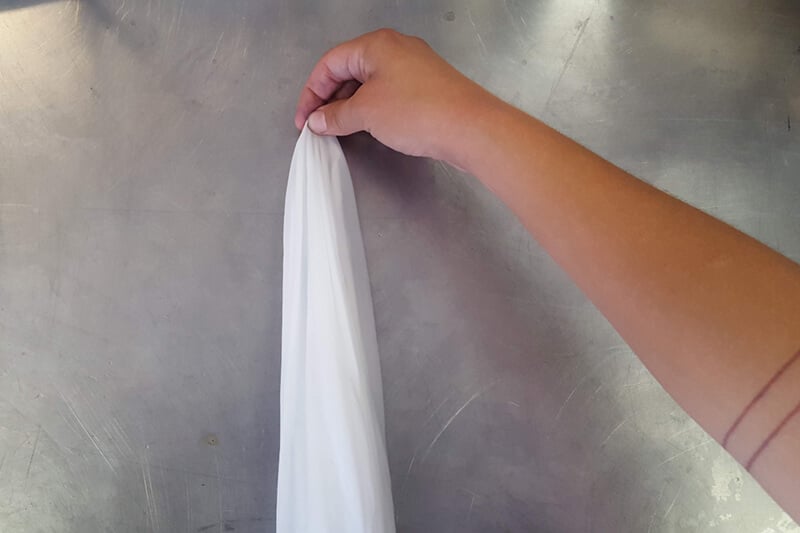
a hand holding up fabric so it is hanging directly down
Lift the fabric up from the center so that all of the edges are hanging from your hand and the fabric is no longer touching the surface.
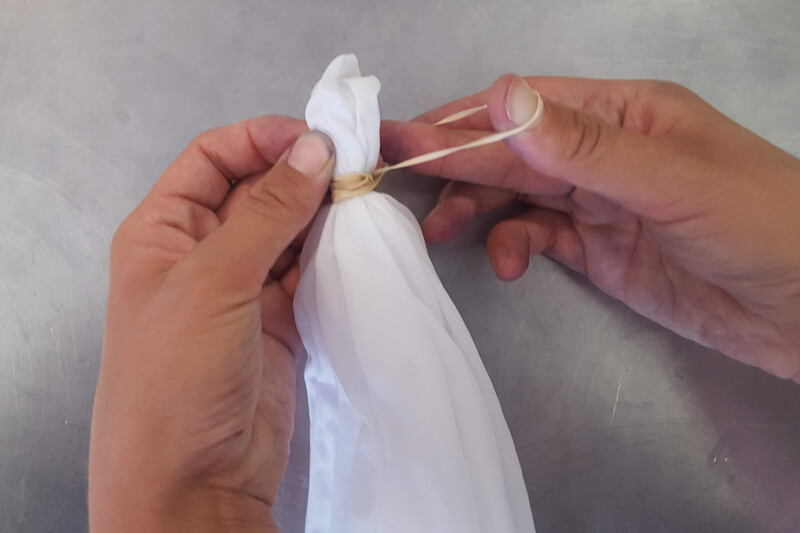
hands wrapping a rubber band around white fabric
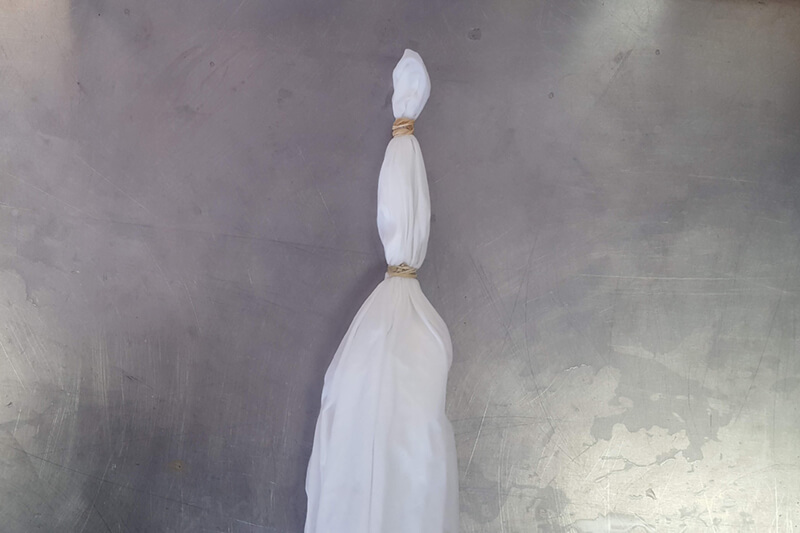
Working from the center where you picked up the fabric, tightly wrap rubber bands around it.
white fabric wrapped with two rubber bands
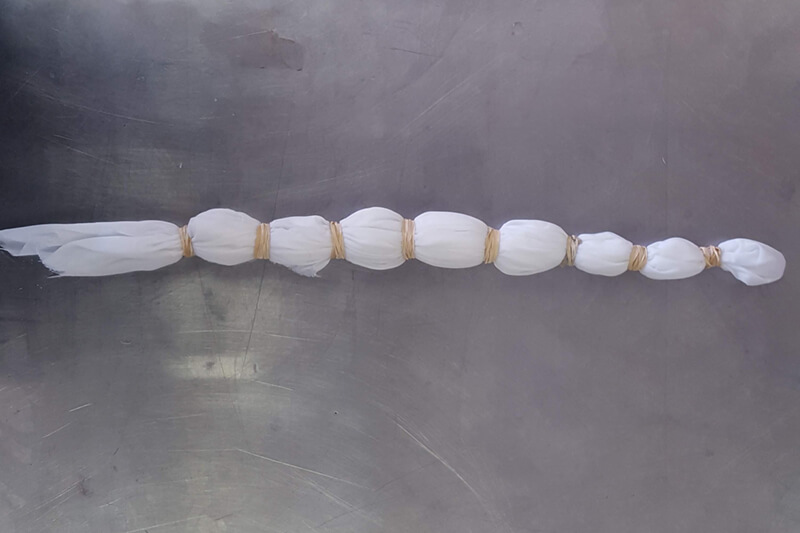
Continue in this manner to the end of the fabric. Space out your rubber bands as much as you want.
white fabric tied with multiple rubber bands on a silver table
The closer the rubber bands are to one another, more fabric will appear undyed after dyeing.

Dye your fabric in your dye of choice!

Remove the rubber bands and open the fabric bundle. If using indigo, wait until all of the dyed parts are oxidized and are blue, not green or yellow. Rinse the fabric until the water runs clear. Air dry away from direct sunlight.

Enjoy trying out these easy shibori techniques and using indigo as well as other natural dyes!