
Everyone from kids to adults love to get their hands messy when they dye Easter eggs with natural dyes. This is a fun tutorial for adults and kiddos (parents help, please) to make a little Easter magic.

First things first, let’s talk about health & safety:
We always recommend working in a very well ventilated area. Although natural dyes are non-toxic, when using fine powders it’s best to wear a mask, and keep the windows open. Be mindful around little ones and pets as you don’t want anything going in mouths that shouldn’t be there.
Also, when beginning to set up a workspace, if commandeering any kitchen equipment for your new dye projects, please remember to keep dye pots as dye pots, and kitchen pots as kitchen pots.
Also if doing this with kiddos, you will be working with heat so be careful with little fingers and hot dye!

Materials:
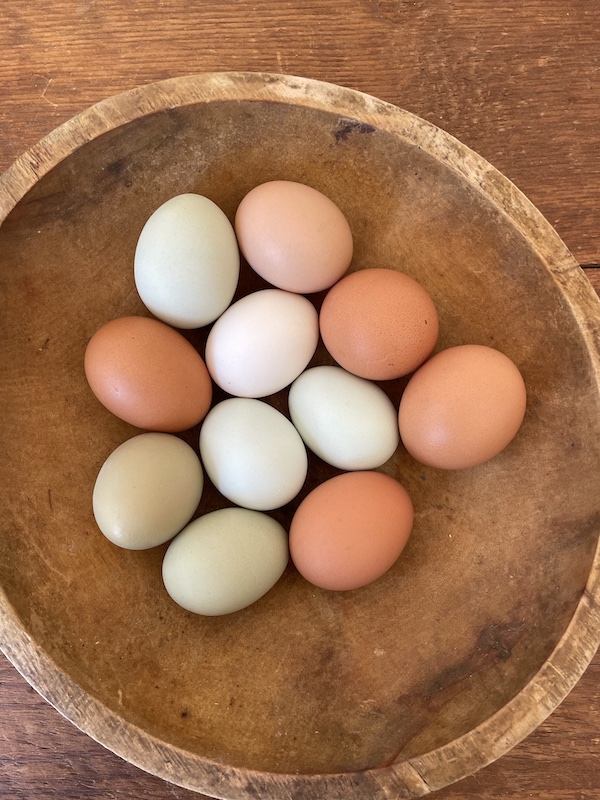
- Eggs: I used heritage eggs and hard boiled them (I like to compost with them after!)
- A beaker or heat resistant glass, or stainless steel pot
- Annatto Seed & Hibiscus or the The Botanical Colors Harvest Box , you can use the Marigolds to dye too! See last years recipe HERE
- Modifiers : Citric acid or lemons , soda ash
- Equipment (Anything you use for this project should not be used for food anymore.)
- Tablespoon & teaspoon
- Large spoon / stirring utensil
- Bowl
- Small cup
- Steamer setup: A stainless steel or “non – reactive” pot. Natural dyes react to metals! Aluminum can work too but will lend to more subtle darker tones. Experiment with both and see how the colors differ.
- A colander / grill rack / sticks / steamer basket – something to rest your fabric in the pot so it doesn’t touch water!
- Paper to protect your work surface or a plastic or a clean drop cloth
- Mask
- Gloves
- A heat source – open fire, kitchen top, hot plate
- Distilled White Vinegar
Steps:
Prep the eggs!
- To start, I used heritage eggs that come in a variety of colors. I liked using the natural blues and browns as natural backgrounds.
- Hard boil your eggs first , this ensures they won’t crack.
- Prep your eggs with a variety of fun tie – dye techniques, use rubber bands, strips of fabric remnants ( I used our handwoven hemp/cotton yardage irregulars which are great for up-cycling projects )

Making your dye baths:
- Put one cup of hibiscus in tea boiled water for 30 minutes with 3 eggs. Add one tablespoon of vinegar and stir. Leave over night
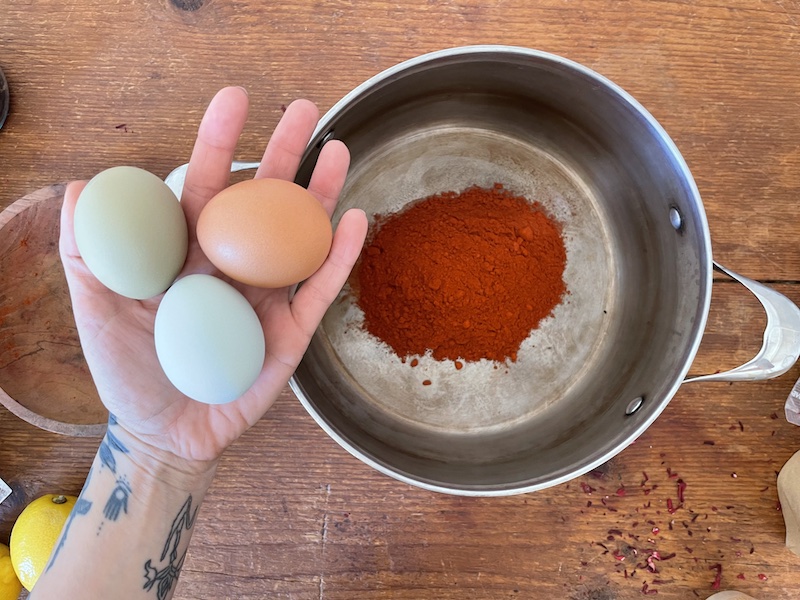
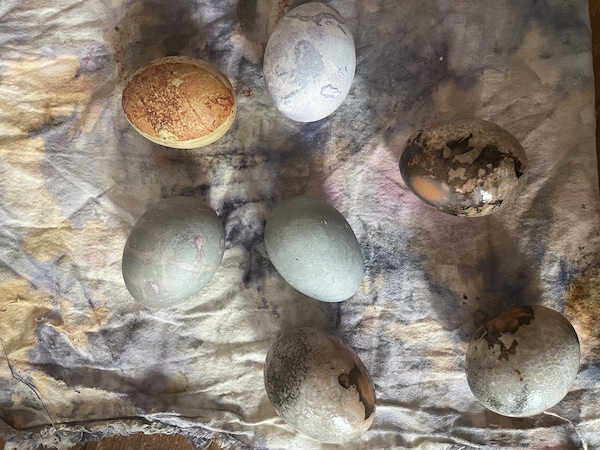
- Heat a small pot of 1 cup of annatto seed powder. Add your eggs and simmer for at least 30 minutes. the dye will stain and speckle the eggs, but this looks cool! You can play with the amount of water so that it sticks to the egg shells.
* You want enough water in each pot to submerge as many eggs as you can . This amount will dye at least 12 eggs!


Fun Tips:
- I also played with rubbing off some marks with a sea sponge for a speckled look. Or by Squeezing lemon on the hibiscus dyed eggs to strip the color!
- If you want to play with shifting the colors, you can use a teaspoon of soda ash for deeper purples in the hibiscus and sprinkles of citric acid or lemon juice to bring out orange shades.
Please send us your images! We love to see what you are making. You might also like Cara’s Tutorial from last year!