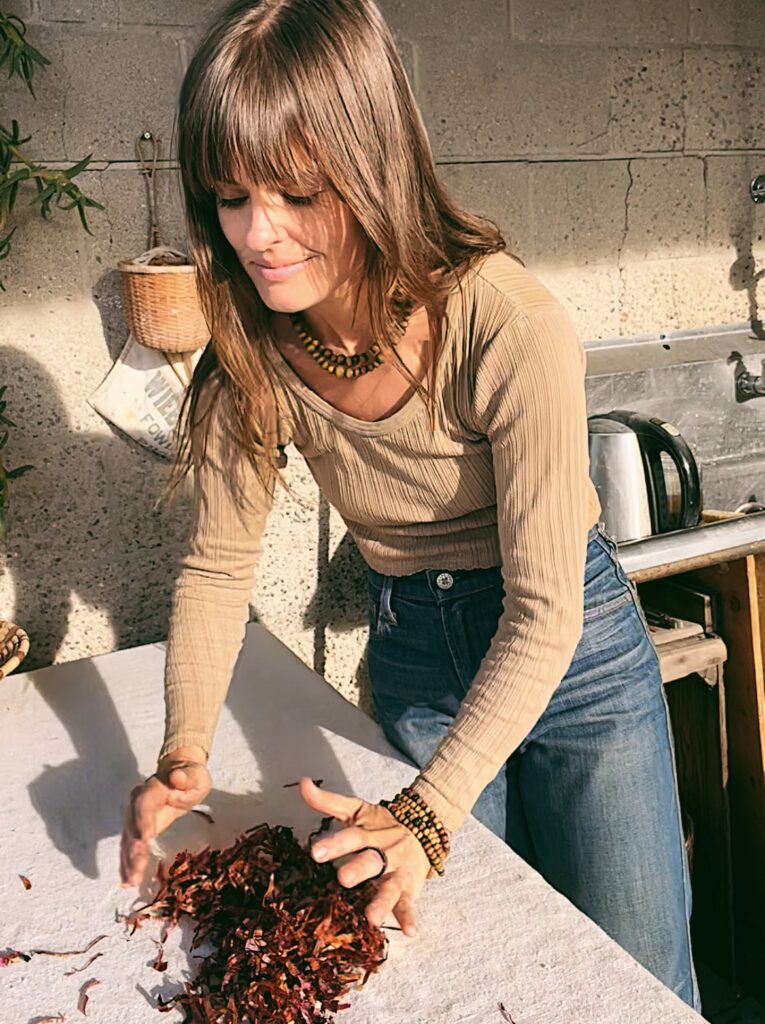
We decided to bring back this incredible tutorial that Liz Spencer of the The Dogwood Dyer created for us! She knows food waste and is a master at turning what most would throw away, into things of beauty. We asked Liz Spencer, the driving force behind The Dogwood Dyer, if she could put together a how-to for us using onion skins. She came back to us with this Dyeing with Thanksgiving Leftovers: An Artful Approach to Onion Skins tutorial.
If you follow Liz, you know she offers an amazing subscription called A Year In Natural Dyes. This month it’s all about food waste and what you see below is just the tip of the iceberg! Sign up to learn fun new dye techniques all year long.
Check out Liz’s how-to below!
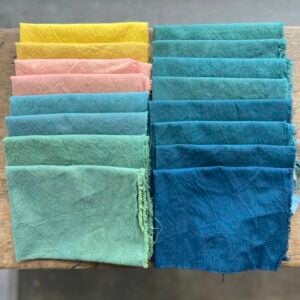
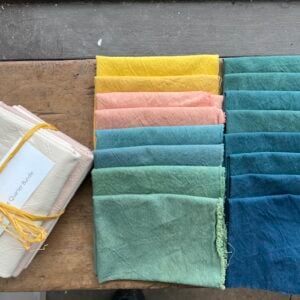
This simple and effective food waste dye project is sure to impress and enthuse any color loving creative. There are so many possibilities from leaving the onion skins whole, tearing them up into organic or geometric forms, designing a mandala, cutting out shapes with craft hole punches (stars, hearts, moons, trees, bows, candy canes, etc.) and even creating Monograms/ initials or spelling out words or names on garments or textiles.
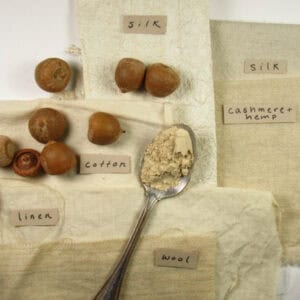
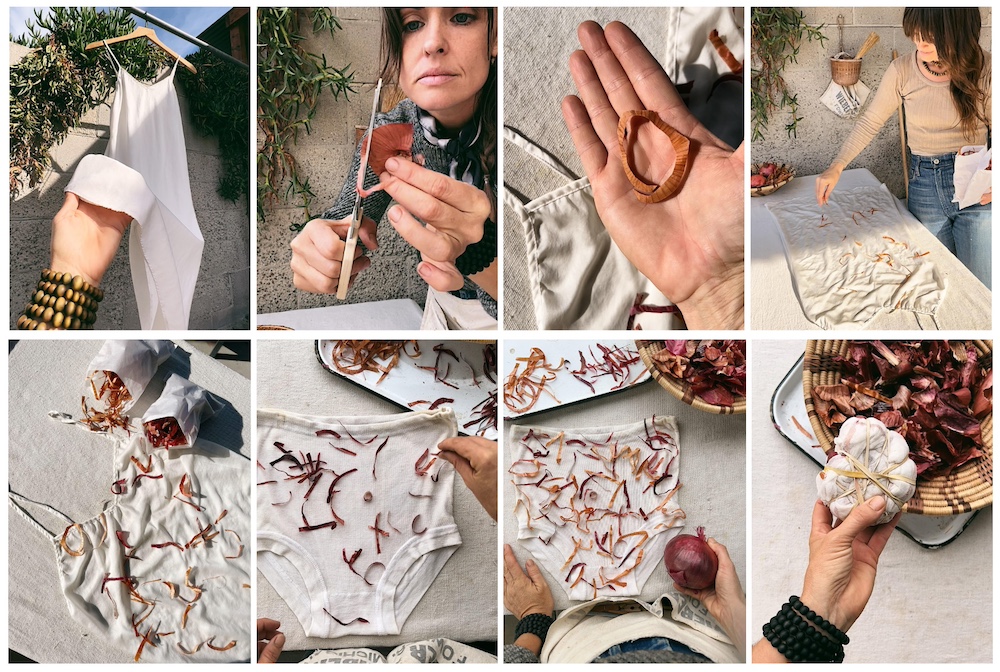
Bundle dyeing uses much less water than immersion dyeing, and by cutting up the onion skins, there is minimal amount of dyestuff needed- spreading the dye power even further. I used 3 onions worth of onion skins to dye a silk dress and cotton underwear front and back (the exact amount of onions used in my Thanksgiving meal prep)!
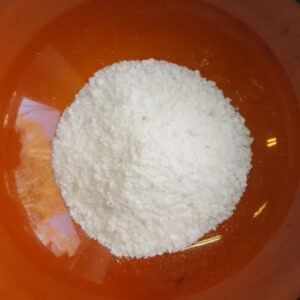
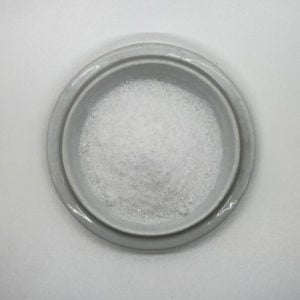
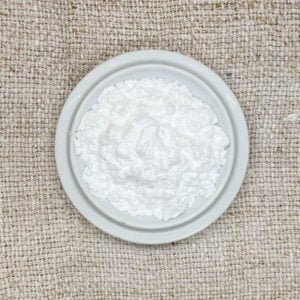
● Mordanting- Don’t skip on mordanting if you want long lasting and saturated color. (use 10-12% WOF aluminum potassium sulfate for animal fibers and 5% WOF alum acetate for plant fibers). Alum acetate on silk and cellulose fibers will lend an exciting green from red onion skins!
● Cutting Onion skins- Cut shapes or strips from the onion skins. Both yellow and red onions work wonderfully for this. You may like to cut custom shapes such as stars or hearts or whatever you desire for a fun design.
● Compose your bundle– starting with damp mordanted fabric laid out flat, sprinkle the onion skins in whatever way you like. You can get extra creative and spell out letters and words for a monogram effect, create a mandala, or a random pattern. I love the sophisticated and unique texture created by simply cutting the onion skins into strips and sprinkling on fabric. If you hope for no bleeding between the layers of rolled fabric, lay down a piece of recycled plastic or parchment or brown kraft paper first before rolling.
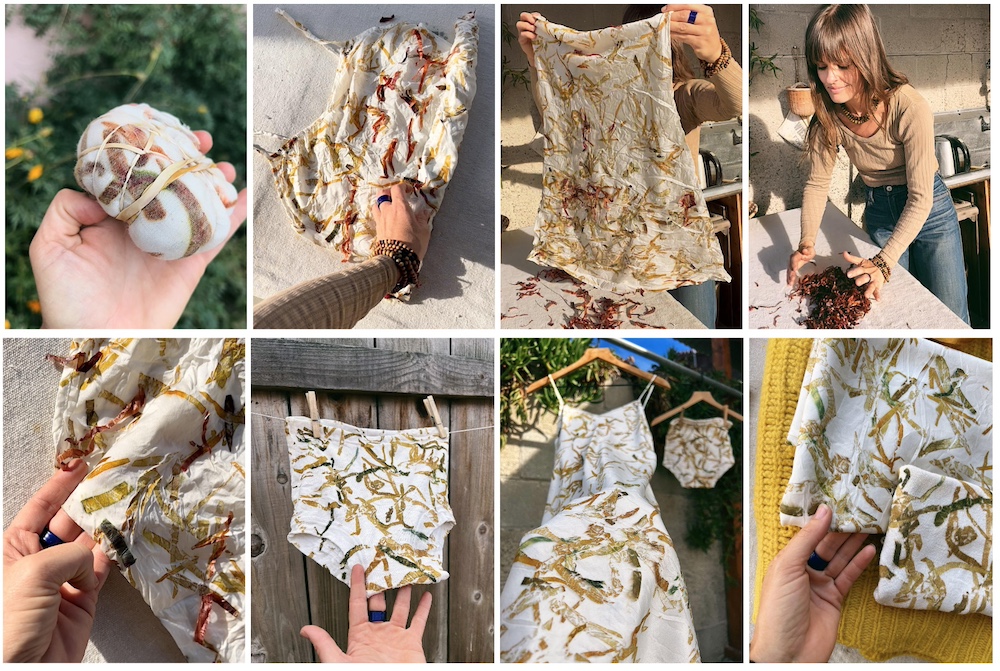
● Rolling- When you’re satisfied with your composition, roll the fabric tightly and don’t forget to include some extra onion skins on the last few inches or so of the back section of your garment or textile (lay down a bit of cheesecloth or paper or recycled plastic and then sprinkle the onion skins and finish up the rolling) and then either snail roll or bind the bundle tightly with string or rubber bands. The tighter you roll and bind the better.
● Steam Extraction– The color from the onion skins is extracted directly onto the mordanted fiber with the power of steam! Onion skins give their colors readily and quickly, so a short steam time between 15-20 minutes is usually sufficient or medium to lightweight fabrics. The steamier the environment, the more efficient the extraction. Use a veggie steam set in a pot with just an inch or two of water, or create a fishing line for your bundle to drape over the side of the pot affixed to the pot handle, keeping the bundle elevated out of the water yet still in the steamy environment with a tight fitting pot lid. Bundles can also be submerged into hot water. In this method, more bleeding of color occurs as much of the dye is extracted into the water and can also lead to coloring the background of the fabric. After steaming, you can leave the fabric bundled up while it cools for a few minutes.

● Results- Unwrap your bundle. Shake or scrape (and save for reuse and further extraction for paint or dye bath making!) the dyestuffs from the fabric. Hang to dry fully before rinsing. I like to allow the extracted dye to stay on the fabric before rinsing/washing for 24 hours. Rinse the excess dye out with cool water and pH neutral soap by machine or hand wash. Hang to dry or tumble dry no/low heat.
● Enjoy your creation!
About The Dogwood Dyer:
Liz Spencer of The Dogwood Dyer is an artist, maker, natural dyer, gardener, educator and mother. She has grown and foraged plants for color in various environments including urban and suburban. Her most recent experience of tending a dye garden between rows in a heritage orange grove in southern California on the cusp of an ever sprawling human population has taught her much about water conservation, waste stream tapping and how to push her craft in a more sustainable and environmentally sound manner.
Liz/The Dogwood Dyer, was a venture fellow at the Brooklyn Fashion and Design Accelerator (BF+DA) & holds an MA from the London College of Fashion where her studies focused on sustainable fashion and encouraging biodiversity in animal fiber knitwear. She taught fashion, sustainability, and natural dyeing at Parsons the New School and The Fashion Institute of Technology and has continually shared natural dyes in public workshops since 2012.