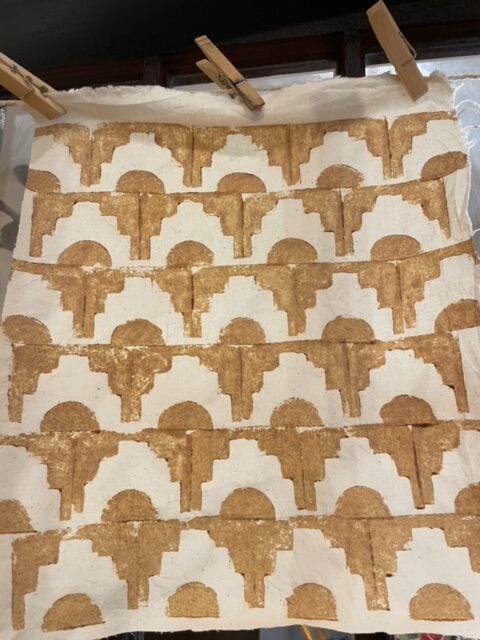
Designs and prints come to life with mordant printing using Botanical Colors Print Paste Thickener and this tutorial!
If you don’t follow Arielle Toelke, Designer + Creator of Four Rabbit, you’re missing out! With a background in art, Arielle creates a line of goods that are both graphic and fun. We’ve been friends with her for years and also gotten to know her as one of our customers using our dyes and assists to make some pretty exciting, graphically pleasing surface designs.
We asked Arielle to write an easy-to-use print paste thickener tutorial, sent her some of our print paste and let her have at it. Here’s what she came back with…
Arielle Toelke’s Amazing, Easy-To-Use Print Paste Thickener Tutorial!
I have replaced my usual guar gum for the Botanical Colors print paste thickener and I may never go back.
I found the print paste mixes easier and smoother than my previous experience with guar gum. I used only a whisk and elbow grease to get a smooth printable paste. Replacing the print paste in my standard mordant printing recipes 1:1, gave me the perfect consistency for silk screening.
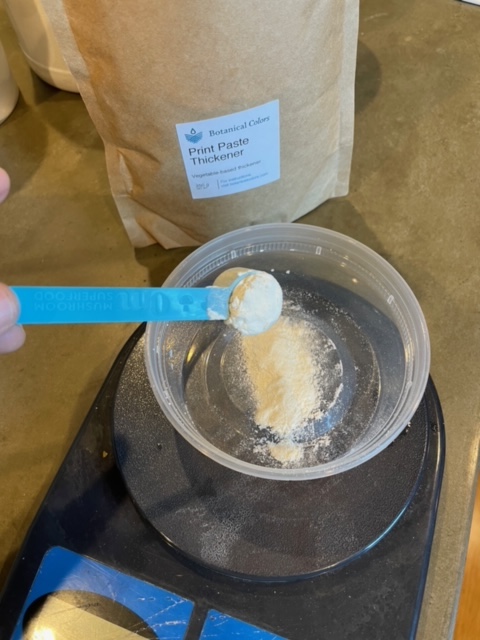
With the stamps, both felt and foam, I first thinned the paste out with just a spoonful of water. I prefer a slightly thicker paste for pulling through a silk screen. For stamping, brushing the print paste on the stamp is my preferred method, so a brush-able paste is preferred. Finding the perfect consistency of print paste is purely individual, the recipes below are a great place to start. These recipes have been my go-to for creating mordant print pastes and come from the book, The Art and Science of Natural Dyes by Catherine Ellis and Joy Boutrup.
The recipes make 100 grams of mordant print paste, plenty for printing a bandana and a few other small samples.
Ingredients:
Sodium Acetate
Hot Water
My dye of choice for this project, pomegranate
Tools
Mixing cups
Whisk
Hot water
Kettle or heat source to heat water
Spoons, stir sticks
Rags and or paper towels
Printing bed or print surface
Silk screen and squeegee and/or simple stamps for creating your design
Paint brush
Scale
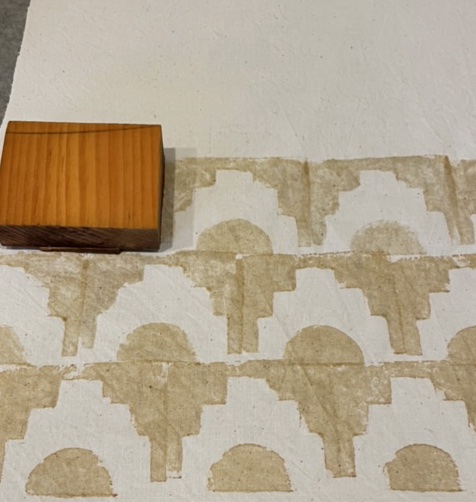
1. Make sure to scour your fabric and iron well. I’m printing on cotton.
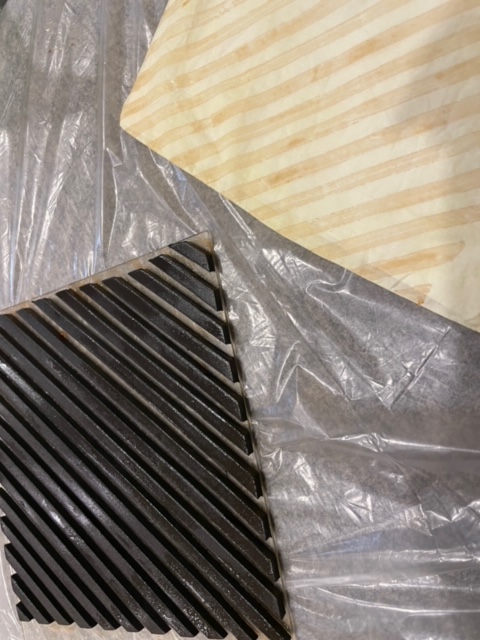
2. Set up your work area and printing bed. I like to print on a surface that gives a little. If you have limited access to a proper screen printing bed you can certainly make do with what you have at home. I use my felt ironing pad covered in a plastic bag.
3. Gather your stamps, silk screens and anything else you might need to transfer your patterns to the fabric.
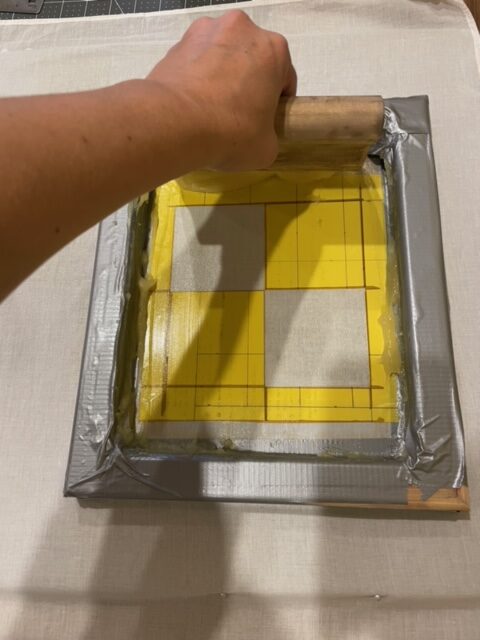
4. Mix up your print pastes. I mixed a 100% alum mordant paste and a 100% iron mordant paste (see below). I have printed both alum and iron on an unmordanted bandana, printed iron only on alum mordanted cotton and printed iron on a previously dyed cotton drawstring bag. You can see that there are many ways of mordanting and printing your design depending on your desired outcome. The print pastes can be mixed as well, resulting in a variety of alum/iron shades.
Alum Print Paste100g
Aluminum sulfate 12g
Sodium Acetate 10g
Hot water 77g
Sappanwood (alum print paste is clear and especially hard to see when dried. By adding a pinch of sappanwood, the paste can be tinted and will not affect the final dye results.)
Dissolve the alum in hot water. Add sappanwood if using. Using a whisk, dissolve sodium acetate. Once the sodium acetate and alum have been dissolved, slowly add in the print paste thickener while whisking. With constant whisking, lumps should not form in your print paste. Let sit for 10 minutes before using.
Iron Print Paste100g
Sodium Acetate 2g
Hot water 95g
Dissolve the ferrous sulfate in hot water. Using a whisk, dissolve sodium acetate. Once the sodium acetate and ferrous sulfate have been dissolved, slowly add in the print paste thickener while whisking. With constant whisking, lumps should not form in your print paste. Let sit for 10 minutes before using. The consistency of the print pastes is now perfect for screen printing. For use with brushing and stamping, I added 2 tablespoons of water to the print paste to thin the paste out a bit.
5. Start printing with stamps or silk screen.
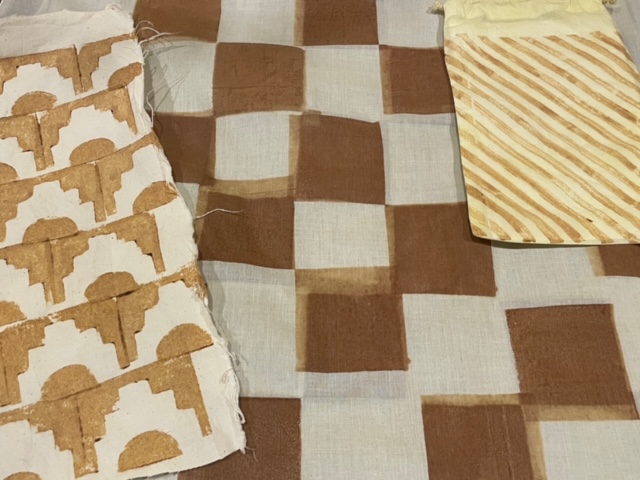
6. Once you have finished printing, hang to dry. Your prints must be bone dry before moving onto the next step.
7. Each printed piece needs to be dunged to set the mordants in place and to remove any print paste that will interfere with dyeing.
(Reader’s note: Dunging is a process used in textile manufacturing to finish printed textiles, particularly those printed with aluminum or iron mordants.)
Dung with chalk and wheat bran
For every liter of water add 10g of calcium carbonate
For every liter of water add 1/2c wheat bran

In a large enough container for your printed textiles to move freely dissolve the chalk in water and add the wheat bran (in a bag or stocking) to the water. Hot water works well in extracting the enzymes in the bran. Give the bag of bran a squeeze or two to release the bran juice.
Add your textiles. Give a swish and move around for about 10 minutes. You’ll be able to feel the print paste on the fabric, and you’ll be able to feel when the print paste has been washed off.
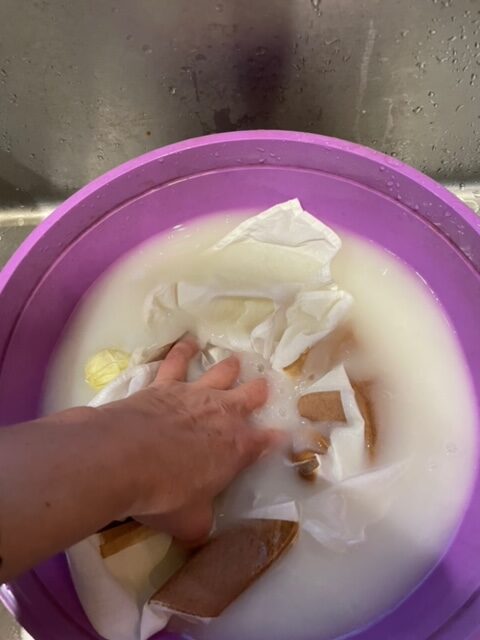
8. Once dunged, rinse away any residual chalk off the fabric. You are now ready to add your printed pieces to a dye pot.
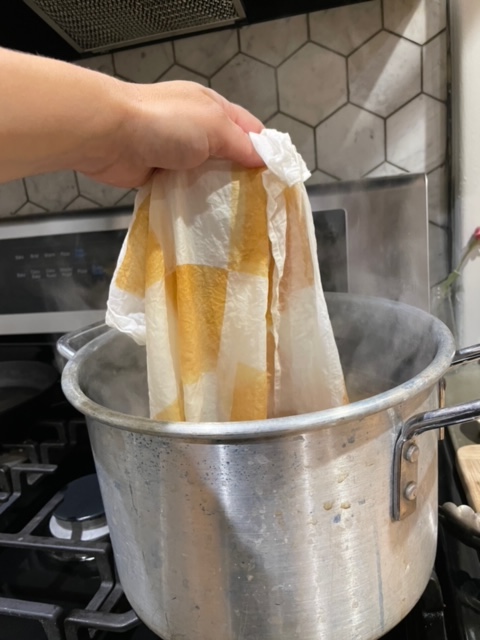
I’ve used pomegranate dye as the tannins react so strongly to the iron giving striking prints. The bandana was printed with a silk screen, the stripes on the bag with a foam stamp and the repeating pattern on cotton was made with a felt stamp.
Keep the fabric in the pot until you acquire the color you want and then pull out of the pot and air dry. You can dye the printed fabric as you would with any dye materials so jump into some Botanical Colors dyes to add exciting hues.
Dyes rich in tannin will go darker with an iron mordant but all dyes will alter their true color in iron for a big variety of color on one cloth. It’s always an experiment. Be fearless and have fun!
Got questions for Arielle?
You can find her on:

Image: chelsea o’leary
Arielle Toelke is an artist based in Brooklyn NY. She has been in love with color her whole life. In kindergarten she colored everything in with rainbows. In 2015 she took an indigo dye workshop on a whim and it changed her life forever. Since then, she has been dyeing, printing, and experimenting, creating art with textiles and natural dyes in New York and beyond.
“My art practice includes natural dyeing, sewing, embroidery and 2D work. Along with my textile art, I work with cut paper collage, gouache and watercolor and have recently delved into designing digitally. There is often crossover with my illustrative art and textile art. Color and design are at the forefront of my approach to art making. I am interested in the intersection of play, community, design, and color which is manifested in my series of Bandana Board Games and other art works. Along with my personal work, I work with clients on custom pattern design, game design, and natural dyes.”
